Modded Mustang Forums banner
1 - 20 of 22 Posts

LCBChef18

· Sofa King Slow
Joined
·
784 Posts
Discussion starter · #1 ·
I need to know what I need to buy/do to get them out.

Steps i've taken to get started, and hide them.

1. Pressure washed since I bought it.
2. Dried with a MF towel.
3. Clay barred the entire car.
4. Had a buddy polish it and wet sand a poorly repainted fender to eliminate orange peel.
5. Waxed it again with carnuba wax.
6. Posted on MM.com

 
I''m no professional detailer but I learned alot from ppl in here and I would say grab your self the following and check out youtube for techniques and how to's. Autoality is a great place to get a membership to for detailing supplies. Detailing becomes an addiction if you invest in the equipment though. The prices are cheaper on most things with the discount and you can buy in bulk if you desire. Customer service is also really good.

List:
:Two Buckets with grit guards
:Dawn dish soap or some type of car wash soap that is meant for stripping waxes/sealants.
:DA polisher. I use a griots garage one.
LINK
Amazon.com: Griot's Garage 10813STDCRD 6" Random Orbital Polisher with 10' Cord: Automotive

:Microfiber cutting pads to get rid of heavy defects

:Green/Blue Polishing Pads - for light defects.

:HD Adapt -Can be used for cutting and polishing so it's easier to work with for beginners imo

:Masking tape for trim

:Isopropyl Alcohol diluted to wipe down after you apply HD adapt and to check for remaining defects

:Good Lighting to check for remaining defects/swirls. This is something that alot of people overlook.

:Small brush to clean detailing pads

: Your choice of wax or sealant. I use Sonax Polymer net shield bc it gives a good shine and is very hydrophobic. My car is a daily driver that sits out though so I am more concerned about protecting the paint than maintaining. depth/clarity.


What I did in order when I did mine:

1. Washed car with dawn to remove sealant/wax
2. Dryed car with leaf blower to prevent swirls
3. clay barred car
4. masked trim. (most compounds will haze your trim so you want to make sure it's masked well.)
5. Went over one section at a time with HD adapt and microfiber cutting pads on my griots garage to remove heavy defects. Here is a video for some pointers. Chemical guys have some good beginner type videos. There are other videos out there on youtube.

6.Wiped down with diluted IPA (Isopropyl Alcohol) to remove haze left from compound.
7. Used lighting to check paint condition
8. Worked area again with HD adapt and Green/blue pads on griots garage to remove rest of small defects/micromarring left by the cutting pads.
9.Applied diluted IPA again to remove haze.
10.Rewashed car with your choice of premium car wash. I used some type of chemical guys car wash. Don't remember the name at the moment.
11. Dryed with leaf blower to remove most of water and prevent water spots/swirls from towel drying. Used detailing spray and a clean soft microfiber to dry rest of water left over.
12. Apply your choice of wax or sealant. I use Sonax polymer net shield. Video of what I believe is vadergt's old subaru with it. The sheeting is amazing.


Some other hints:
-When applying compound to the pads, don't use too much or it will sling everywhere and cause a mess and waste your product. On the other hand, too little and it won't be enough to work the paint sufficiently. I use about 5 pea sized drops once the pads been pre-lubricated.
-Clean pads with stiff pad cleaning brush often. They get caked up often.
-Most importantly, take your time and enjoy the results.


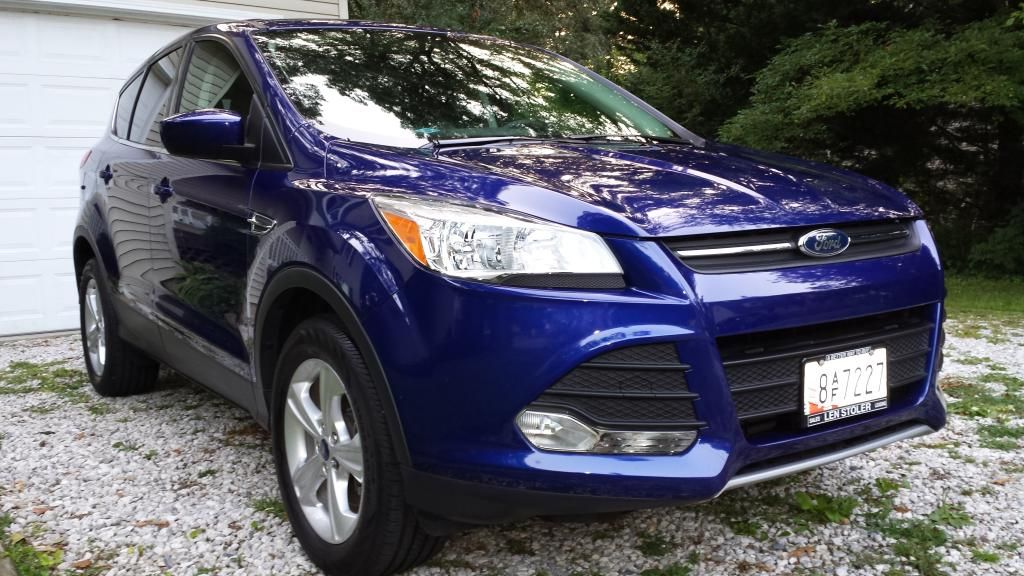
Some pics of my car and my wifes after I was done.

My car after correction


Stock headlight before and after


Discussion starter · #5 ·
Dude I feel your pain. My last stang was sterling gray and the paint was almost perfect, and so much easier to take care of. Make sure to post up lots of pics when you do yours. I'd be interested to see how it turns out.
 
Thanks for the info man. I appreciate it.
No problem. I added alot more to my post above. Youtube and the sticky's in this forum should be more than enough to make you feel comfortable. It's alot of crap to buy at once but most of it will last you for a long time so it's worth it imo.


Good Luck
 
Discussion starter · #9 ·
Step one, change user profile info (show off that 5.0) :)

Step two, buy a DA and compound.

Step three: correct paint
Lol yeah dude. I just haven't had time. I can't believe you bought a vette though. If money weren't an issue i'd be driving around a stingray, hands down.
 
It's definitely not a simple process and the polisher will take a little while to get comfortable with but as others have said, the results will make you happy you put in the time and energy.
 
This^

A griots polisher is one of the best "entry level" or "weekend warrior" type of polishers, very safe but does require patience and proper technique to achieve substantial results (thats just paint correction).

Also keep this in mind...youll be learning on Ford black paint (Paint code UA last time i checked)- Certain Paints vary in difficulty to work with, usually according to their hardness (which again can vary with make/year, the paint on your 5.0 is pretty soft, its not crazy soft or very difficult to work with, but it will require an extra level of patience and finesse. I too learned on similar paint(03 mach 1, same paint code i believe), and now own a 2012 in black. While it does require a bit more attention, at the same time, its much easier to see results (or lack thereof) on gloss black paint, which will help you hone your skills faster and see exactly what you are doing on the paint.

Before you correct any paint, you should be sure you possess the proper maintenance wash equipment so you can maintain the newly restored look once you remove all the defects from your paint, keep that in mind as well.
 
Discussion starter · #12 ·
This^

A griots polisher is one of the best "entry level" or "weekend warrior" type of polishers, very safe but does require patience and proper technique to achieve substantial results (thats just paint correction).

Also keep this in mind...youll be learning on Ford black paint (Paint code UA last time i checked)- Certain Paints vary in difficulty to work with, usually according to their hardness (which again can vary with make/year, the paint on your 5.0 is pretty soft, its not crazy soft or very difficult to work with, but it will require an extra level of patience and finesse. I too learned on similar paint(03 mach 1, same paint code i believe), and now own a 2012 in black. While it does require a bit more attention, at the same time, its much easier to see results (or lack thereof) on gloss black paint, which will help you hone your skills faster and see exactly what you are doing on the paint.

Before you correct any paint, you should be sure you possess the proper maintenance wash equipment so you can maintain the newly restored look once you remove all the defects from your paint, keep that in mind as well.
I've got two buckets with grit guards, a boars hair (IIRC) wash mitt from DD, and a slew of MF towels for drying, detailing, and waxing. Now that i've moved I typically go to the local power wash place and rinse my car, fill up my buckets with water and wash there. Then rinse with the pressure washer.

I'm kind of scared to do the work myself to be honest. Mostly because i've heard horror stories of people melting their clear coat and what not. I just don't want to do more harm than good.

edit: how much do you think i'd be spending to do a paint correction myself? Taking into consideration all needed supplies.

2nd edit: This fender really just needs to be repainted. Check out this awesome, already been wet-sanded and polished orange peel; believe me this looks way better than it did before, which is saying something.


Then there is this awesome paint job they did by the plastic molding. Keep in mind this car was in an accident. Front left fender was replaced and repainted. The specks you see aren't contamination or flakes of paint. It's sheet metal. Yes, that's right. Bare metal with (hopefully) some clear coat over it.

What you need is a kit from Phil @ DD. Comes with the Griots, Liquid abrasives and pads IIRC. Around 300 bucks i think.

Using a DD is super safe. Its nearly impossible (not entirely, but practically) to hurt your paint in a way that isnt easily corrected. The machines work at low speed in a random action, which keeps heat down which avoids "burning" paint or "strike through" which is typically a biproduct caused by a rotary polisher- none of that will be an issue using a entry level DA.

On that lower part of the door....needs a respray, that **** aint right.
 
Discussion starter · #14 ·
What you need is a kit from Phil @ DD. Comes with the Griots, Liquid abrasives and pads IIRC. Around 300 bucks i think.

Using a DD is super safe. Its nearly impossible (not entirely, but practically) to hurt your paint in a way that isnt easily corrected. The machines work at low speed in a random action, which keeps heat down which avoids "burning" paint or "strike through" which is typically a biproduct caused by a rotary polisher- none of that will be an issue using a entry level DA.

On that lower part of the door....needs a respray, that **** aint right.
You're not kidding. I just hate to find out how much it's going to put me in the hole to have the fender resprayed.

Oh and to make it even better, they didn't take the front bumper off when they repainted it, either. There is black paint that bled onto the black trim, and the side marker lights. Not to mention the screw they have holding it together in the wheel well because one of the clips on the fender broke off. Causing it to stick out a bit. I either need to find a clip to replace it with, which in my experience I don't think that's a thing. I think i'll have to buy a new bumper.

There's a list of **** about this car that just ain't right. But most of it is cosmetic.

1. Orange Peel
2. Fender missing paint.
3. Rear bumper, missing paint (chipped, the size of a half dollar)
4. One of the illuminated door seals doesn't illuminate.
5. There's a piece of weld in both of my mid mufflers.
6. Swirls
7. Massive door ding on drivers side.
8. Chips in paint on hood. (From the PO tailgating truckers, etc)
 
Sounds rough man. You gotta decide if you are going to keep it and fix it or if youd rather just sell it and spend a bit more on a newer or better condition car.

New fender paint shouldnt be more than a couple hundred.

Rock chips happen on sports cars, fact of life lol, mine has a few.
 
Discussion starter · #16 ·
Sounds rough man. You gotta decide if you are going to keep it and fix it or if youd rather just sell it and spend a bit more on a newer or better condition car.

New fender paint shouldnt be more than a couple hundred.

Rock chips happen on sports cars, fact of life lol, mine has a few.
I bought the car fully aware of the defects. I plan on fixing it.
 
I bought the car fully aware of the defects. I plan on fixing it.
Then yea, a respray on the one part, the "haziness" is most like correctable. Just gotta put in the time.
 
Don't pressure wash! The pressure is too much and it pushes rocks into your paint and causes scratches!!! Polish and wax with a buffer, they'll go away.
 
Don't pressure wash! The pressure is too much and it pushes rocks into your paint and causes scratches!!! Polish and wax with a buffer, they'll go away.
Not true. Lol.

The only thing that'll come into contact with your paint is the light dust that is stuck to it. First thing I do is foam soak the car with a lance (low pressure), then pressure rinse, then two bucket wash.
 
Discussion starter · #20 ·
Yeah i've never heard that in my life. You won't ever see me run my car through one of those automated washer things though. **** that ****.

On a side note. Washed and waxed today. Car looks pretty damn good after it's been clay barred. Considering it still needs so much work. My manual labor is about all I can afford lately. Gots me a baby on the way. :)
 
1 - 20 of 22 Posts