Just found the site, figured I'd show off my project and chime
in here from time to time from now on.
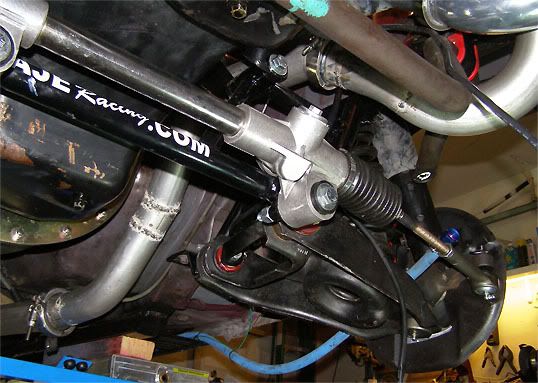
It's a work in progress so forgive the pics, but hope to have it running soon.
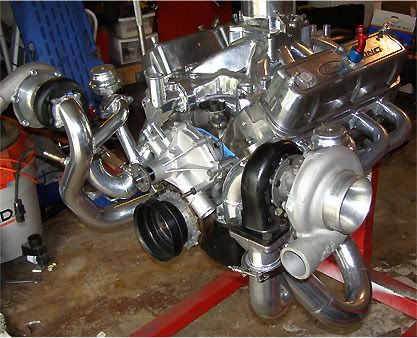
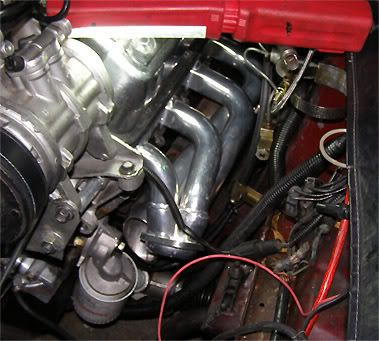
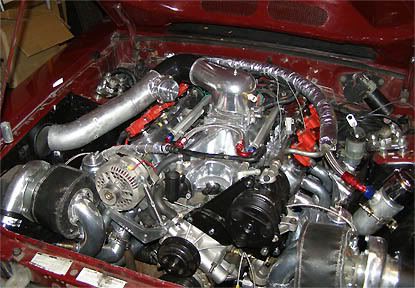
Not your average Fox body engine bay.
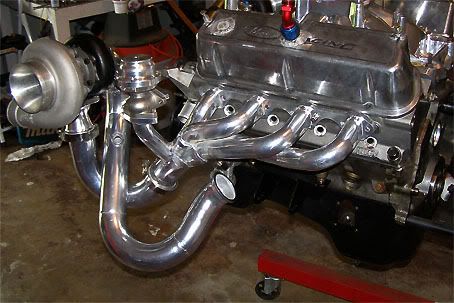
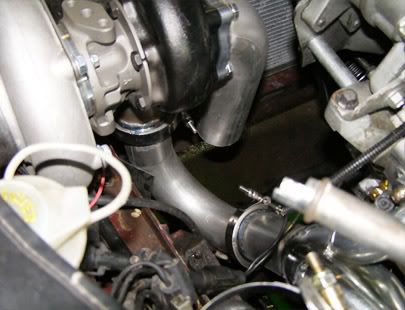
Did the turbo build up myself with help on finishing the welding.
Was pretty easy to do actually.
Twin 50/60mm stg 3 turbos. Going to be running either 10 or 15psi
controlled with boost controller thru the computer.
![Image]()
![Image]()
![Image]()
![Image]()
in here from time to time from now on.
It's a work in progress so forgive the pics, but hope to have it running soon.
Not your average Fox body engine bay.
Did the turbo build up myself with help on finishing the welding.
Was pretty easy to do actually.
Twin 50/60mm stg 3 turbos. Going to be running either 10 or 15psi
controlled with boost controller thru the computer.