Modded Mustang Forums banner
1 - 20 of 25 Posts

Nasty

· Premium Member
Joined
·
23,209 Posts
Discussion starter · #1 ·
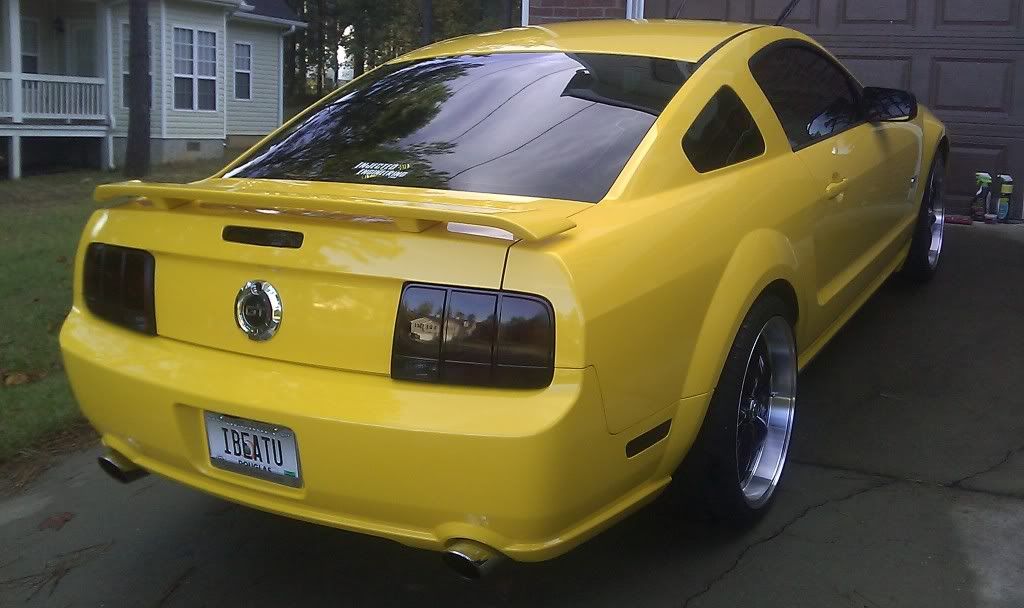
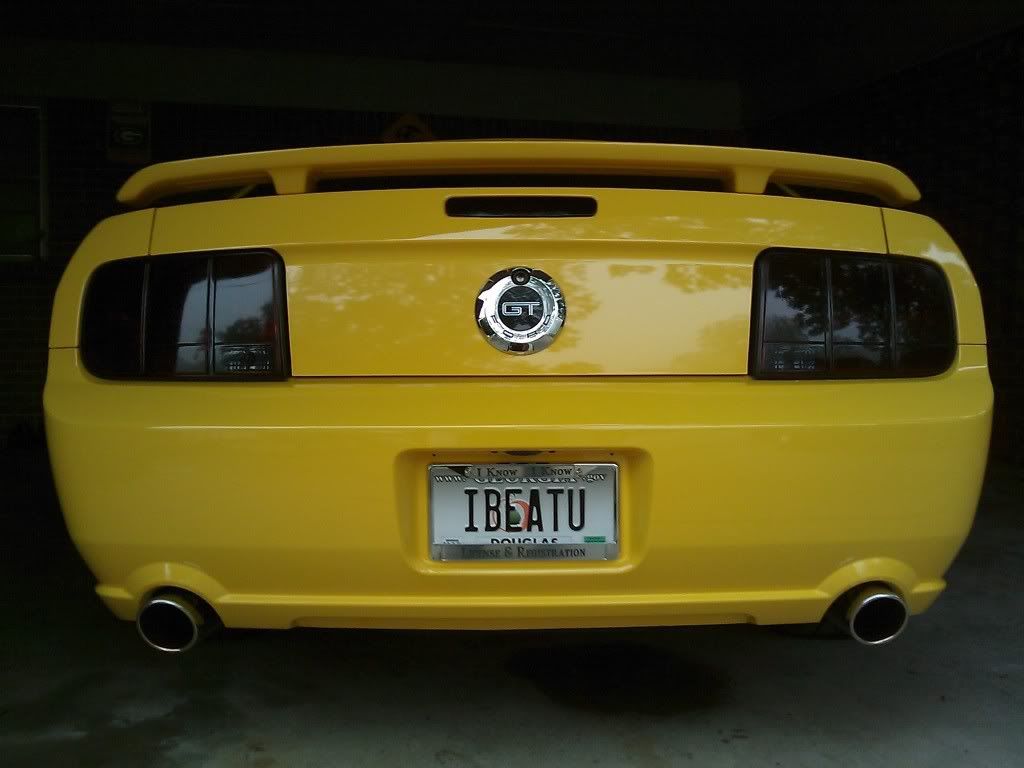
I'm going to be doing some stuff with some spray tint pretty soon. I'll probably go with VHT or Tamiya Polycarbonate PS-31 model paint.

TowerHobbies.com | Tamiya PS-31 Polycarb Spray Smoke 3 oz

Now, I know the instructions on the can are garbage. It looks flat and dull as hell without any wet sanding. I do not want that! Now my question is, how many of you cleared it? I've seen some write ups that recommend spraying, wet sanding, clearing, wet sanding again, and finish up with buffing it. Than I see some guys saying that you don't need to clear it to get a glossy finish and wet sanding / buffing will be good. I would like to get some good results on the first go so wanted to hear first hand results. If you have pictures of your finished product, post them up!
 
When I did my fogs, I tinted, wet sanded, cleared, wet sanded, cleared, then polished, they look great, only problem is they're hidden behind my grille so no one really sees them anyway. but yeah you can get them to look amazing, but the first thing I thought after the first coat was "****, I just ****ed up $80 fog lights". It all works out. Good luck. Post pics.
 
I did exactly as you said in your post Nasty. 3 coats of VHT and 3 coats of clear, wet-sanding in-between and after. Turned out great. Also did the 3rd brake light and rear side markers. Cost $25 for VHT, clear, and sandpaper. 1 can did both cars and had some left.

You can see the reflection of the house across the street in this pic:
Image


Reflection on driver side, and sun hitting passenger side you see the red from the sun hitting the reflector in the housing:
Image


Image


Image


Image


I did 5 coats of VHT on the 98, no red shines through these at all, even in direct sunlight

Image


Image


Image
 
I also did the VHT, sand, clear, sand, buff. It looks just like body paint and VERY reflective.

There's debate and always will be on if you need clearcoat. Just like body paint, it can be shiney w/out clearcoat. The clearcoat will offer protection for the tint. A can of clear is only another $3. Why skimp? Just spend the extra $3 and some time to be possitive that it'll last.
 
I used Tamiya Polycarbonate PS-31 to tint my pony emblem on the front grille. It doesn't wear very well, bug juice tends to dissolve it. Now if you can dodge the bugs.....
 
i didnt want mine shiney. like the matte look better. i think it came out real nice. i'm at work so i cant post up pics right now. I'll look through my old post to see if theres some of the ass end. Its not shiney and its not matte. 3 coats of Nightshade. Turned out perfect i think

just cleaned off the lights and put on 3 coats. no buff and no clear
 
I just saw a pretty good write up Zat had last week... let me see if I can dig it up

Edit: found it :)


Don't bother with the "Headlight Restoration kits". They or a waste of time. Go buy these materials:

  • Assorted Sandpaper (320, 400, 600, 800, 2000)
  • Rubbing Alcholo
  • Adhesion Promoter
  • Clear Coat
  • VHT
  • Some kind of paint stripper

Follow these steps:

  1. Clean the headlights very good with soap/water
  2. Spray the paint stripper VERY LIGHTLY over the headlight. Do not let it sit for to long. Some strippers can be finiky on plastic. Let it sit for about 10-15s and wipe it off with a disposable rag. Wear gloves.
  3. Scuff the headlight with the 320 grit in a left-to-right motion. Go with the light
  4. Once it is scuffed very well, clear it with rubbing alcholo again.
  5. Spray 2-3 light coats of Adhesion Promotor. Let each coat become tacky between coats (about 2-3mins)
  6. Start hitting it with VERY light coats of VHT. You only need about 2-3 coats total. Take your time... do very very light coats. The first few will not even cover the headlight completely. Make sure the coats are even as well.
  7. Now spray 3-4 coats of clearcoat. Make sure they are light as well.
  8. Wetsand your final clear coat with 2000 grit paper until it has a smooth finish.
  9. Grab some rubbing compound with a Polisher or a foam applicator and begin to buff the hell out of it.
  10. Follow up with a swirl remover

According to Travis, there is no real need to sand between coats. You get your shine from the light even coats and the sanded/buffed final coat.

Be sure to wax the headlights about 2 weeks after this. I bet you will get better results this way.

Be sure to tape up the back of the lights and the rubber as well.

Nice write up Z, your making me proud bud :yes +reped

I can remmember when you had new questions every day for us, and now your the one doing writeups, Good job man :yes


if i can make a suggestion though, when you get done with the paint stripper, wash your headlight off with some clean water. Ive found sometimes paint stripper likes to hide in little crevices sometimes, and if you dont completely remove all the stripper from the surface, whatever you put on after that will lift no matter what if there is stripper residue left. And the best way ive found, at least for me, to make sure all the stripper is removed from whatever i am stripping is to just flood the part surface with water. then after its dried, continue on with your sanding. It would be a really good idea to use the water flood method especially with plastics, because if there is any residue left when you start sanding, you are going to sand the stripper into the plastic and then your gonna have a whole bunch of problems you wont want. And really listen to Z, on the not leaving it on for only seconds, paint stripper is notorious for pretty much melting plastic. And def tape off your rubbers, stripper is murder to rubber.

But again, your impressing me Z. I will definitely admit you have surpassed me in painting with rattle cans.
 
I didnt clear mine when I did it...I used the VHT...sprayed it a little darker than the darkness I was wanting so I would have some room to wetsand...I believe I wet sanded with 2000 grit sand paper to cut any imperfections out then finished with a 3000 grit...after that I polished them with a low speed orbital...ended up with a nice glossy finish with no clear coat
 
1 - 20 of 25 Posts