Coil-Over Completed Install with PICS ") **UPDATED**
**UPDATED**
As some of you know, I have just got my kit in the mail this week. Since I've have never seen a good one, I figured I'd do a little write up for the coil-over install. So here goes. We'll start out with the back, since that's all I have done right now. I will do the fronts tomorrow and finish the write up
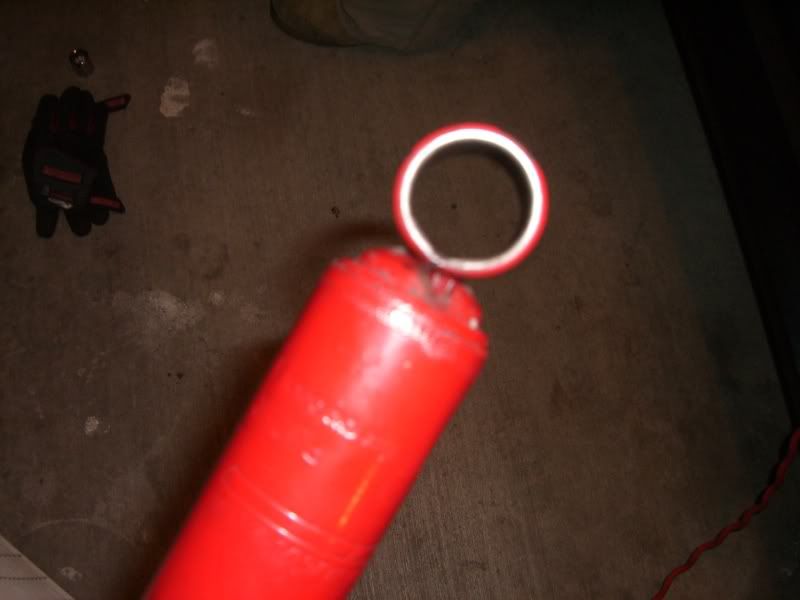
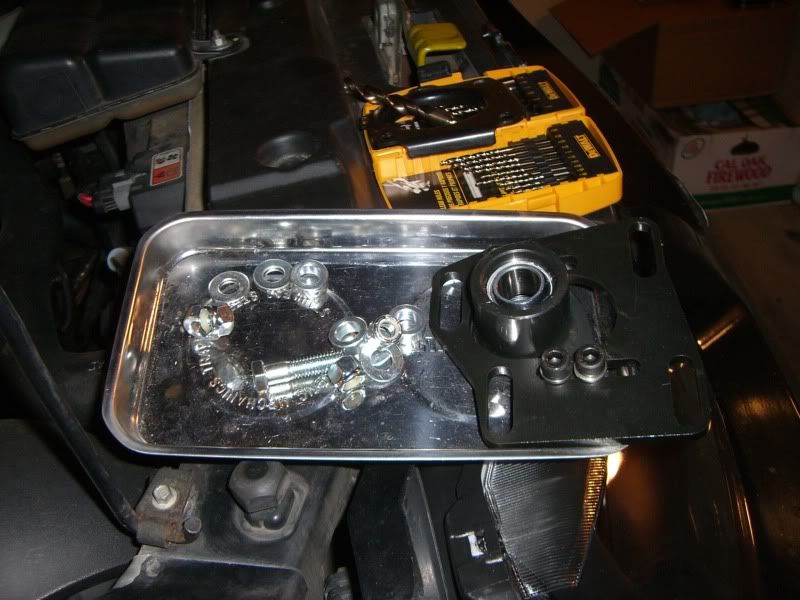
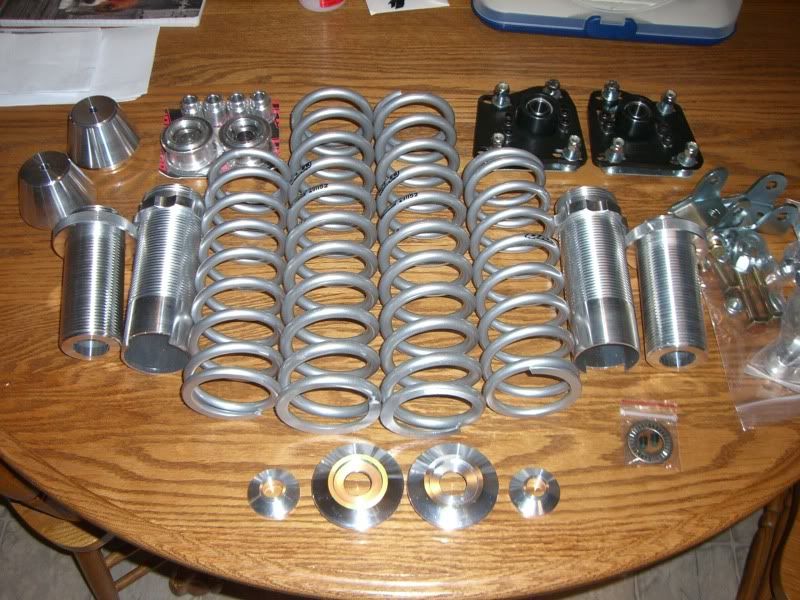
Here's the kit in all it's glory
![Image]()
First, find a good place with plenty of space for the install.
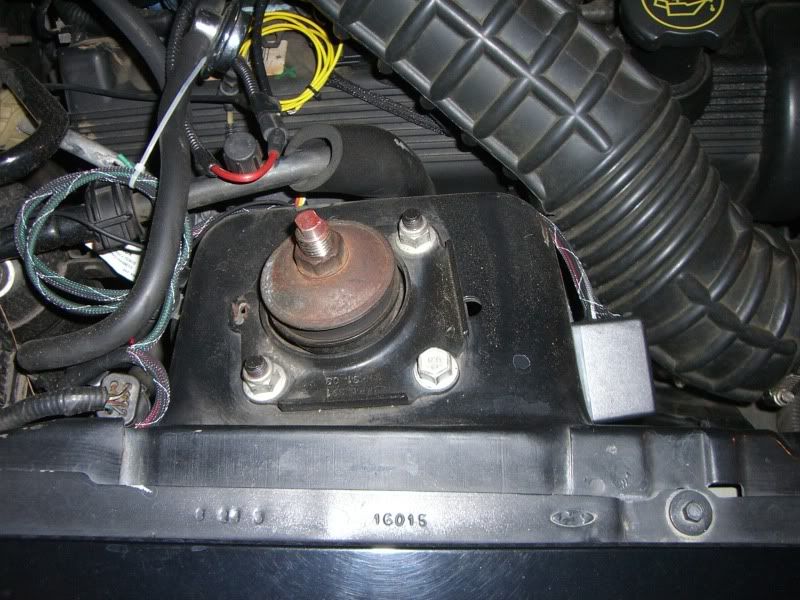
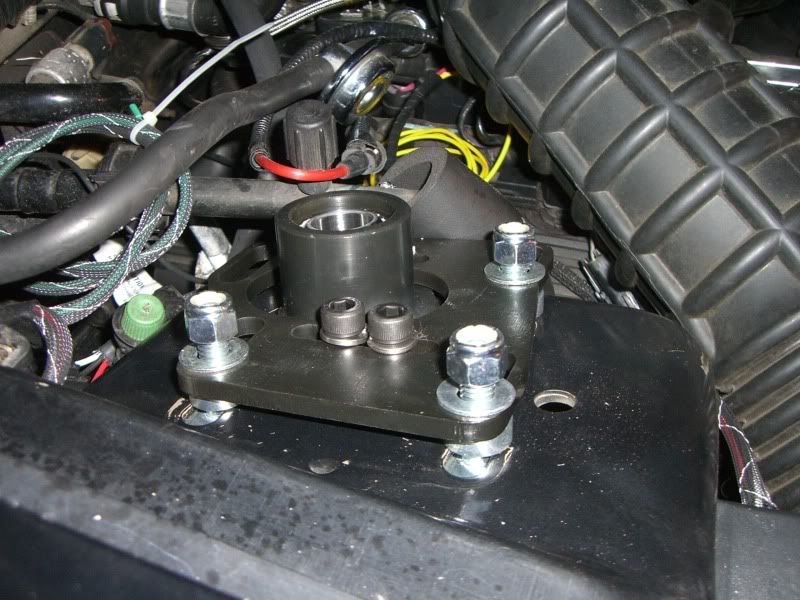
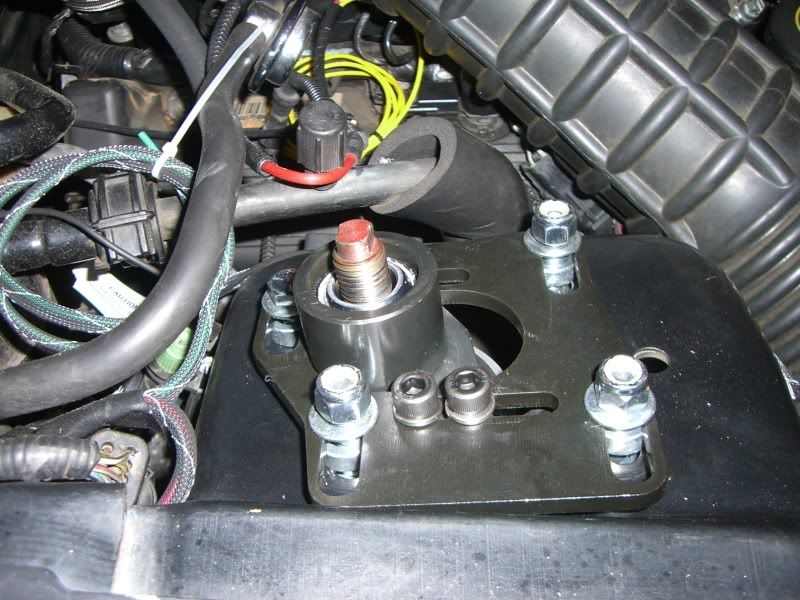
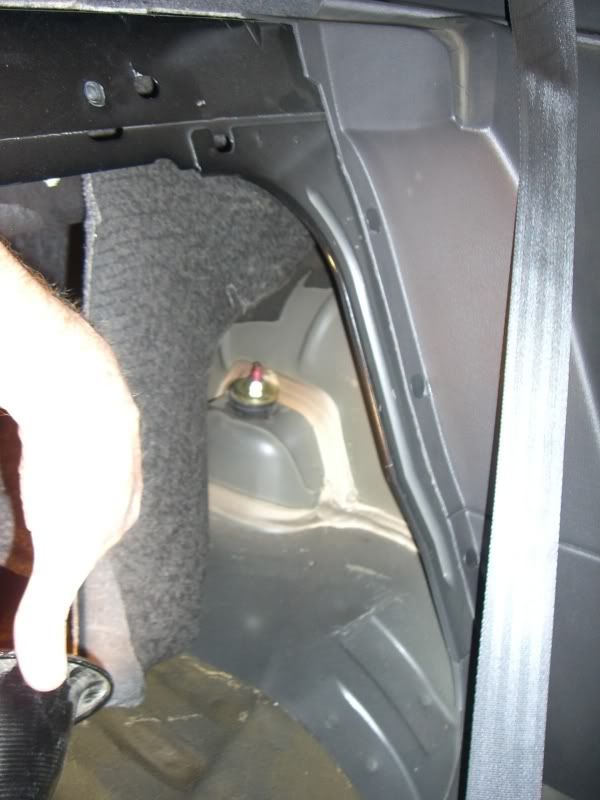
Put both front seats as far forward as possible so you'll have space to work in the back seat. Fold the rear seats down to gain access to the trunk and rear top shock mounts. Pull the trunk liner on either side towards the center of the car to expose the top shock mounts.
![Image]()
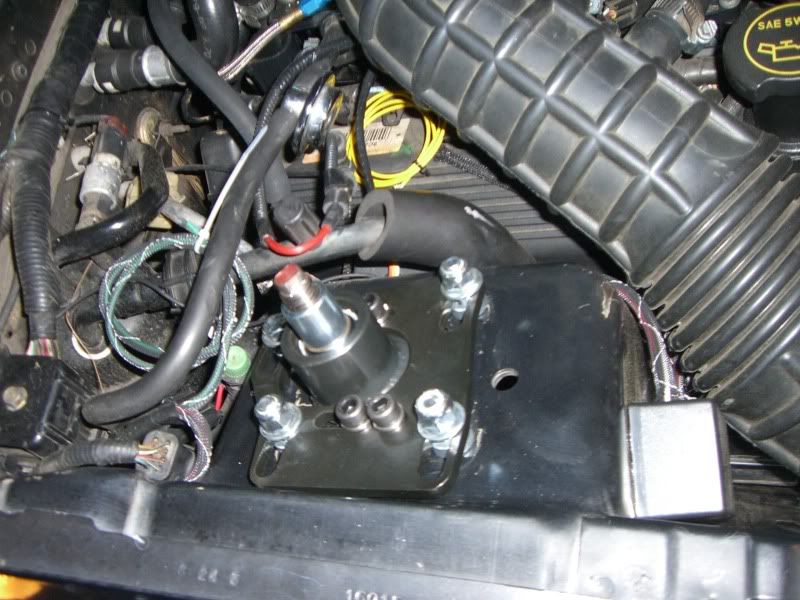
Remove the top shock mount nut and bushings from both the passenger and driver's side rear shocks. Do this with the weight of the vehicle on the wheels to remove pressure from the top shock mounts.
![Image]()
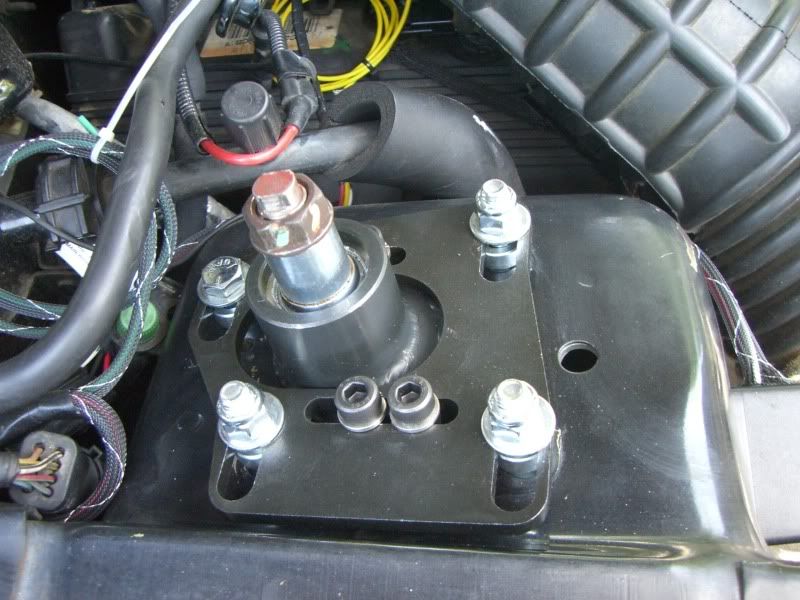
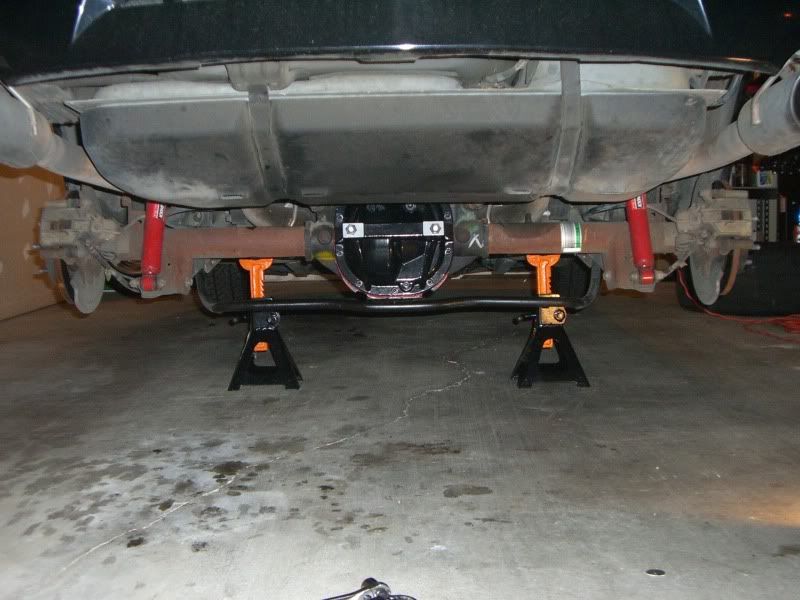
Now the rear end of the vehicle can be raised and supported by jack stands. Place the jack stands under the side-rear jacking points or SFCs if installed. Note: If the car is supported by jack stands under the axle, the suspension will still be under a load, and you will not be able to remove the rear springs.
Remove the rear wheels/tires.
![Image]()
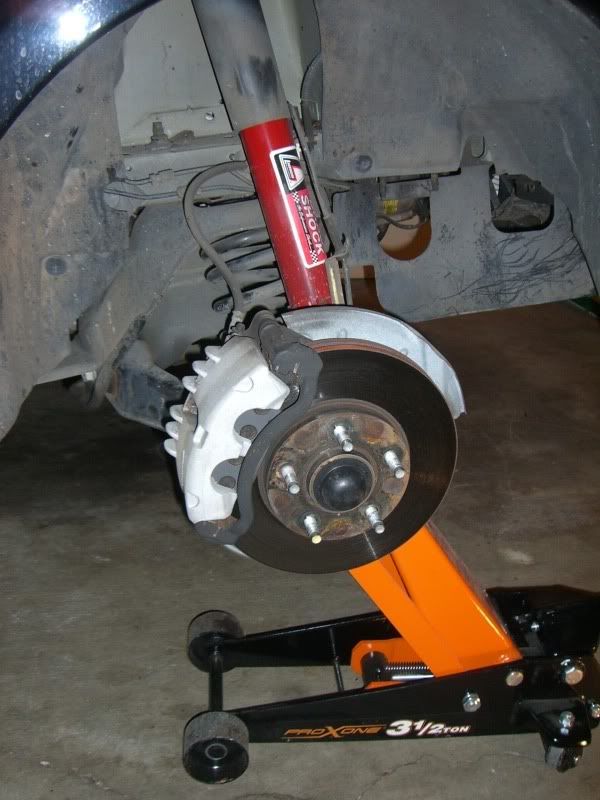
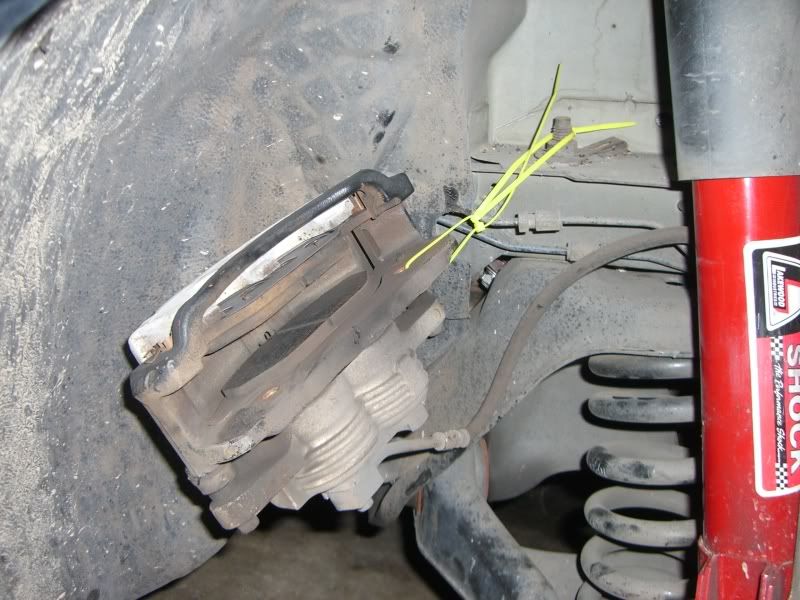
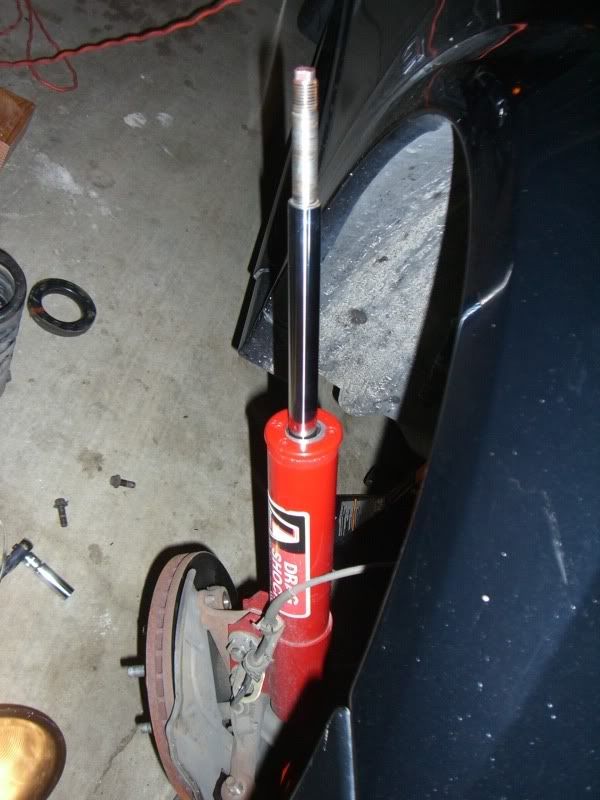
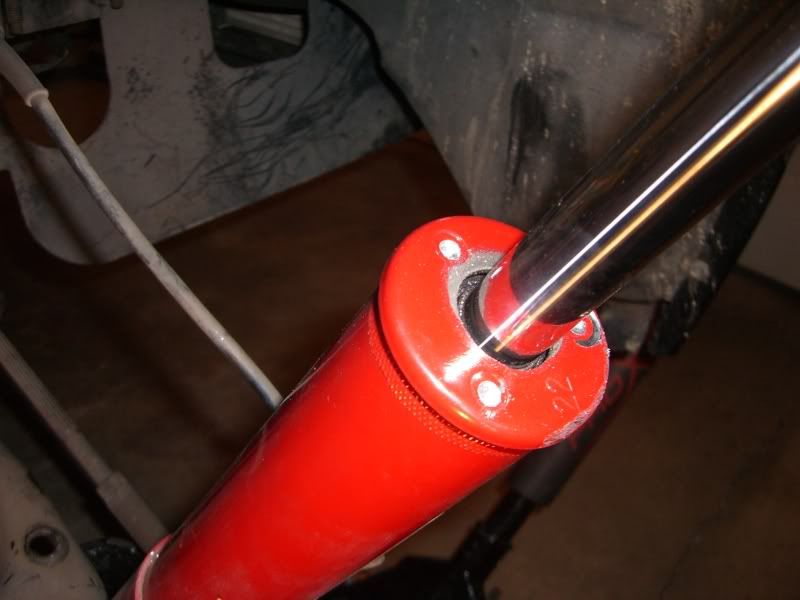
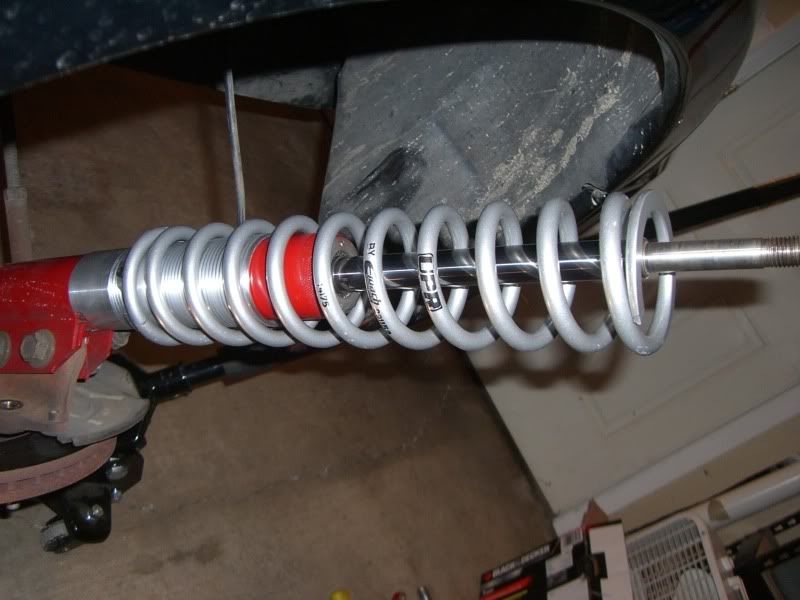
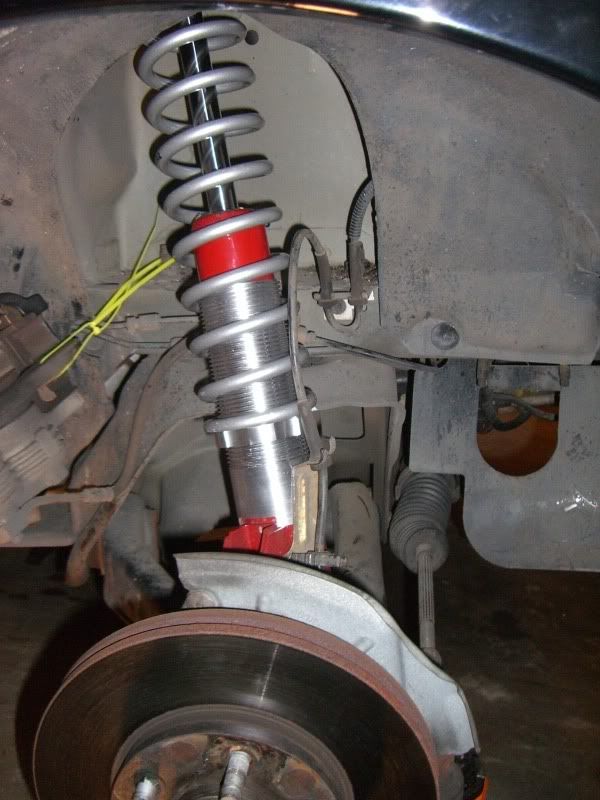
Remove the bolts passing through the bottom of the shocks that are holding them in place and remove the rear shocks from the vehicle.
![Image]()
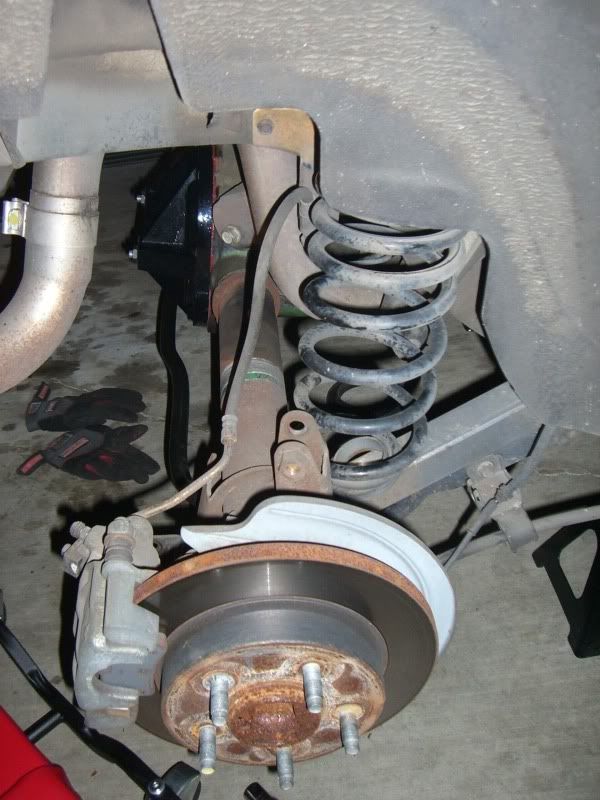
From the side of the car, you can see the rear coil spring.
![Image]()
If the car is already lower as mine was, with the suspension in its current relaxed and extended state, the spring can be easily removed from the side. It may take a bit of twisting, but it will come out without too much trouble. (with stock height springs, you may have to disconnect the lower control arms to remove the coil springs)
![Image]()
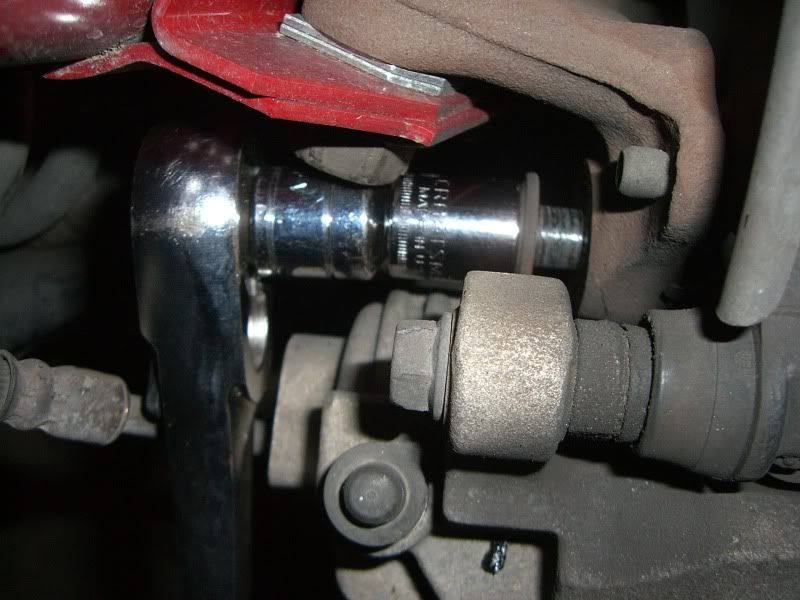
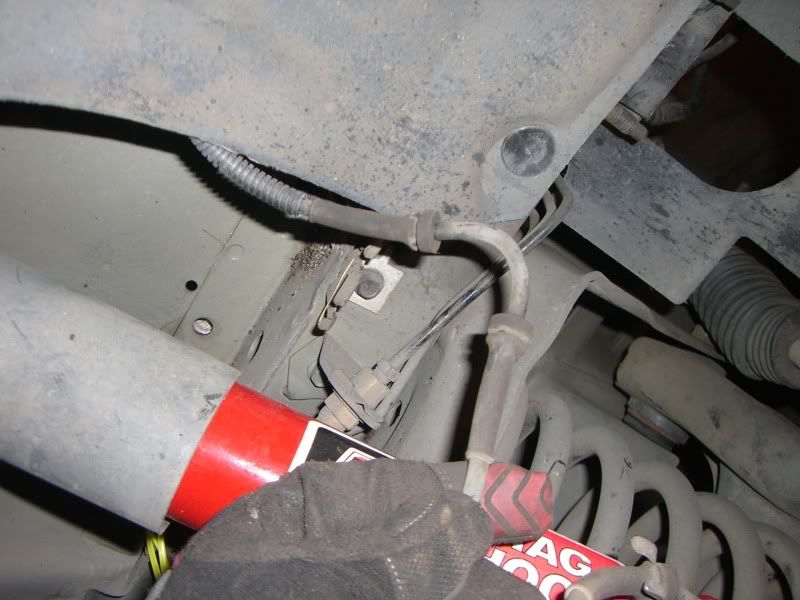
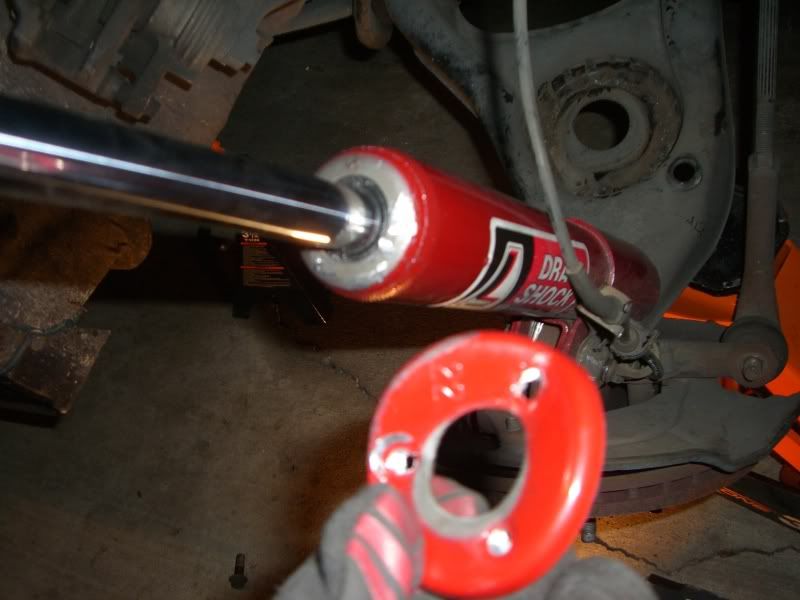
With a 21mm box end wrench or ratchet wrench, remove the nut that hold the lower shock mounts to the axle housing, and remove the lower shock mounts. The factory lower shock mounts nee to be replaced when converting to a coil-over setup. The stock mounts are not designed to support the full burden of the car's weight.
![Image]()
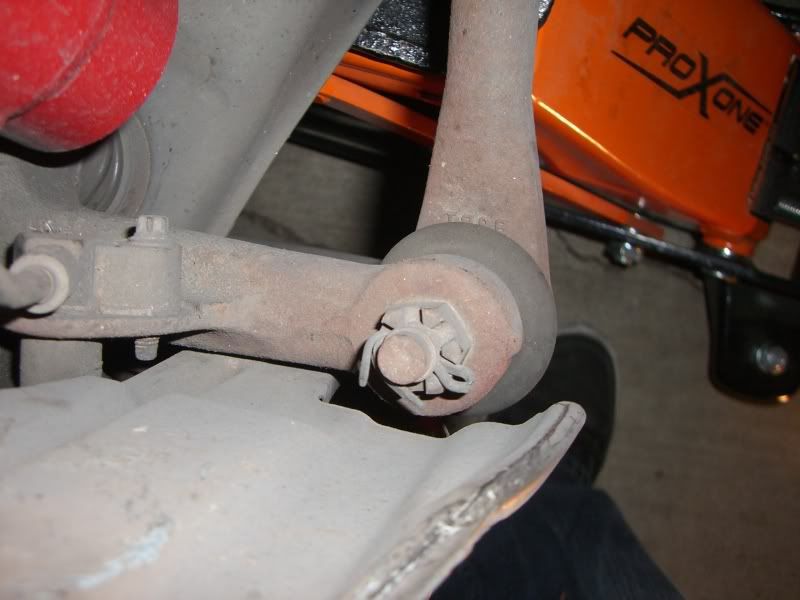
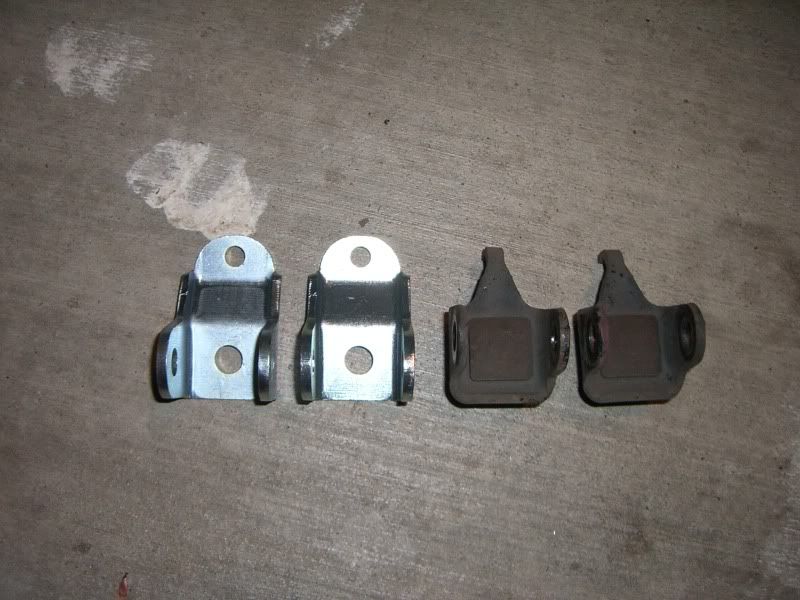
Here is a couple shots comparing the new with the old. You can clearly see the difference in strength between the new and old shock mounts.
![Image]()
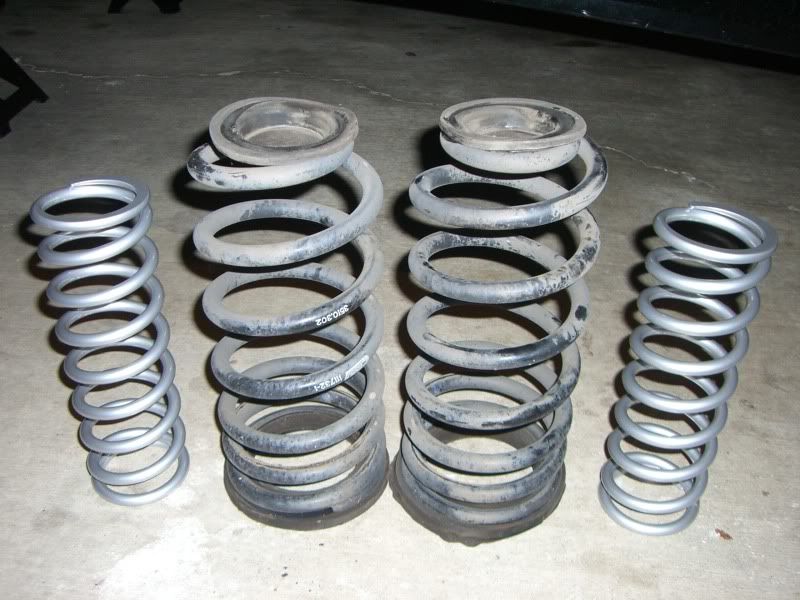
It's easy to see judging from the overall thickness and size of the coils why there is some weight loss associated with converting to a coil-over setup.
![Image]()
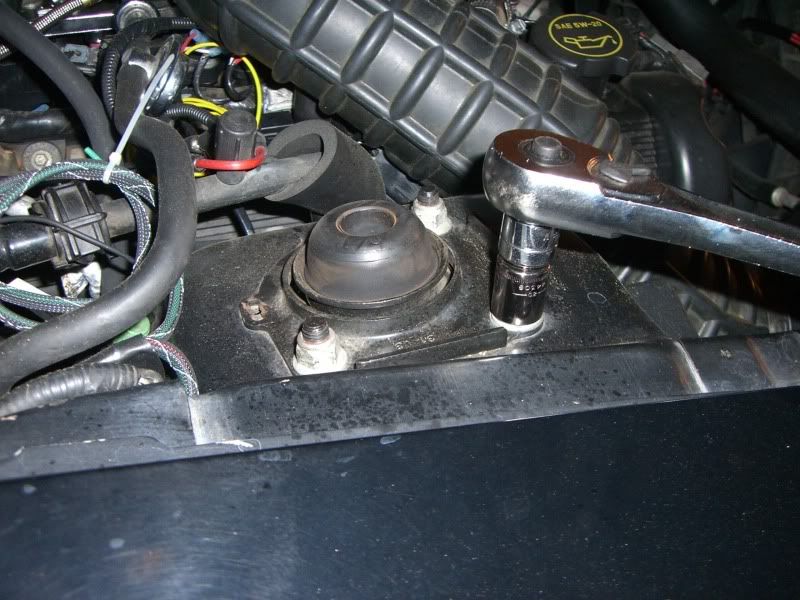
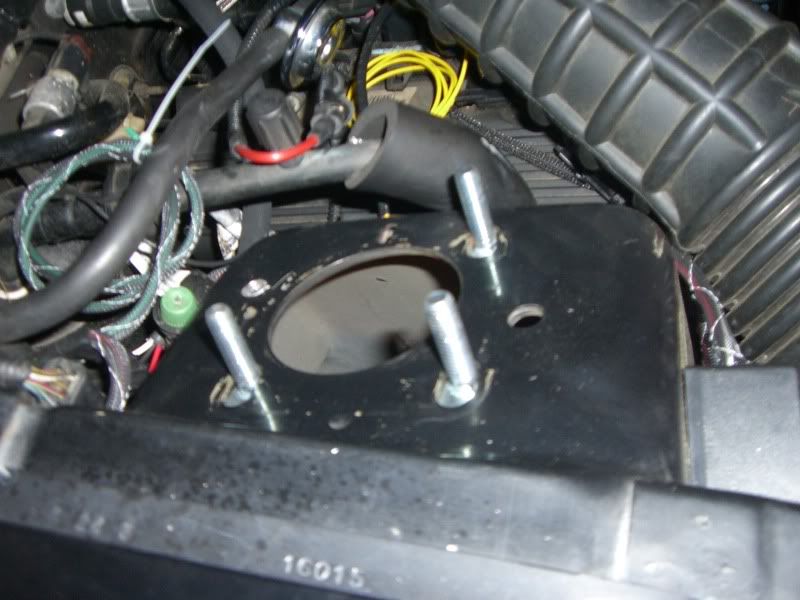
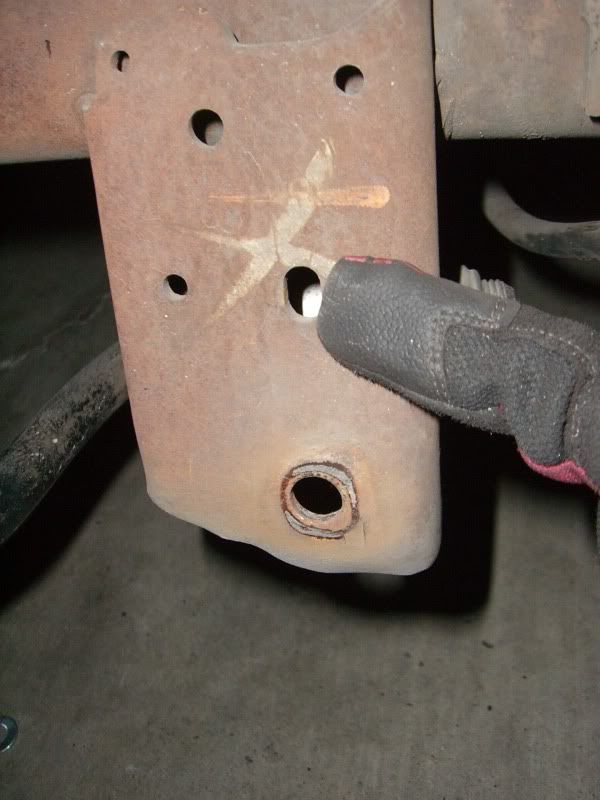
Back to the shock mounts. The new mounts come supplied with Grade-8 mounting hardware, but the top mounting hole needs to be widened just a hair to make room for the new 3/8" bolts. The hole in question is the center oblong shaped one.
![Image]()
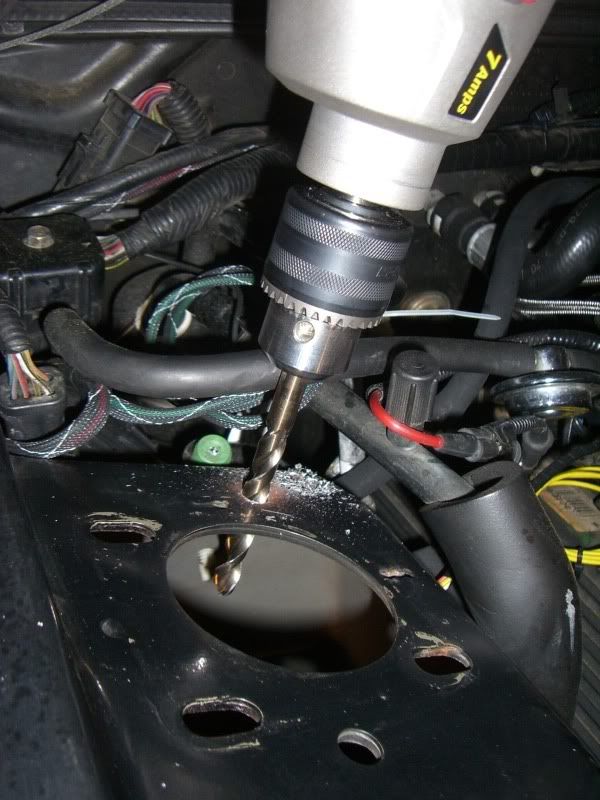
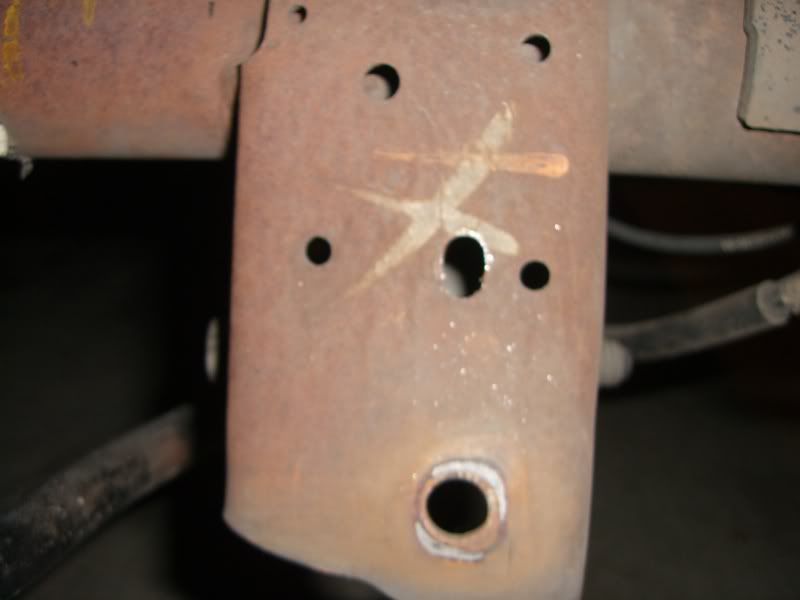
Using a drill with a 3/8" bit, ream out the center of the bolt hole. It doesn't take much at all since the hole is just under 3/8" already.
![Image]()
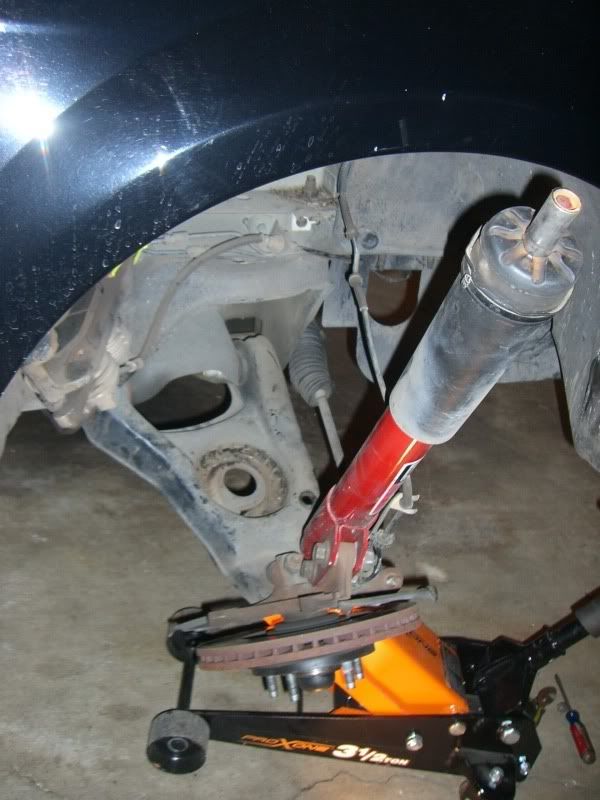
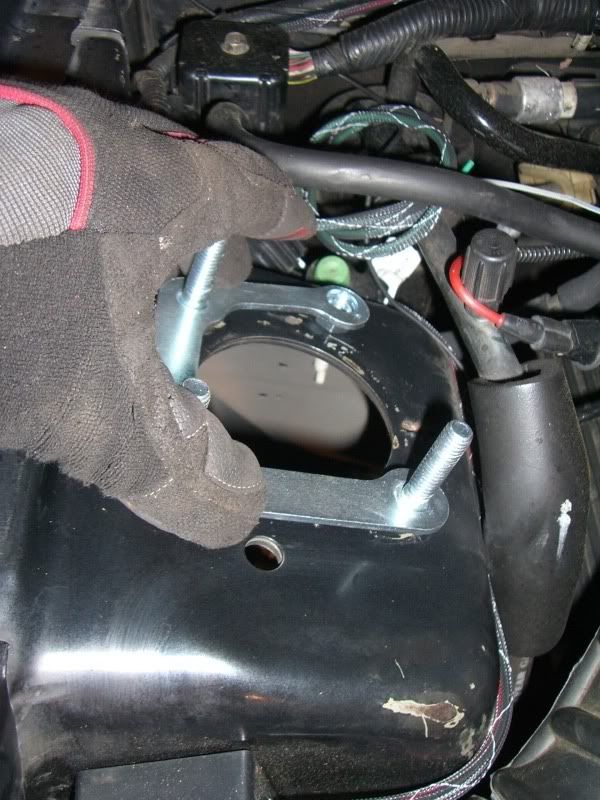
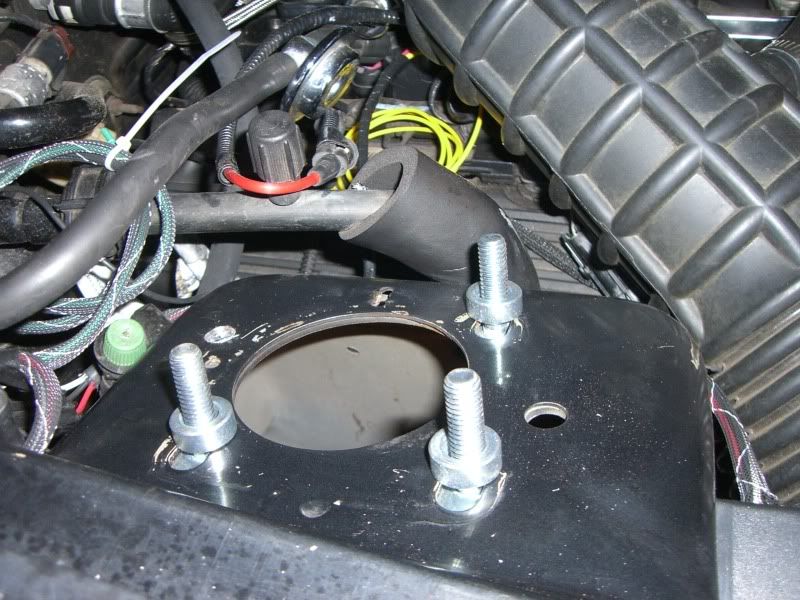
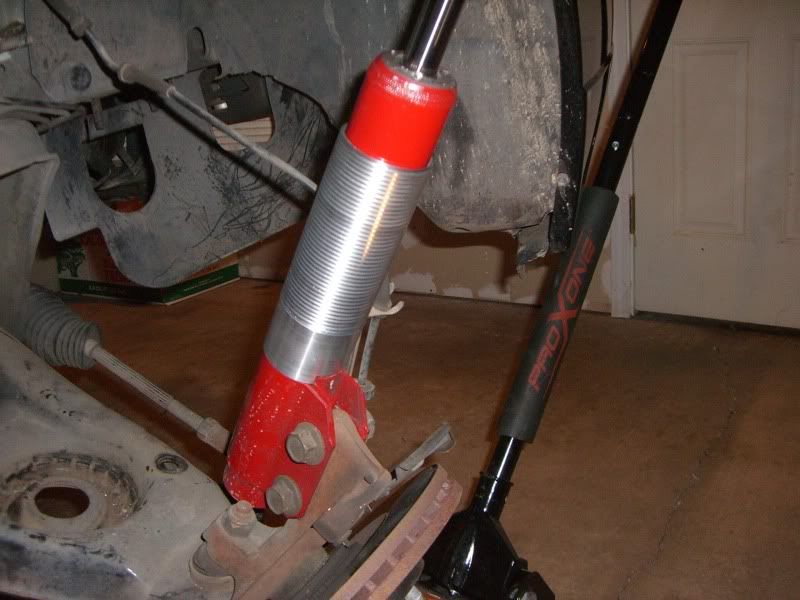
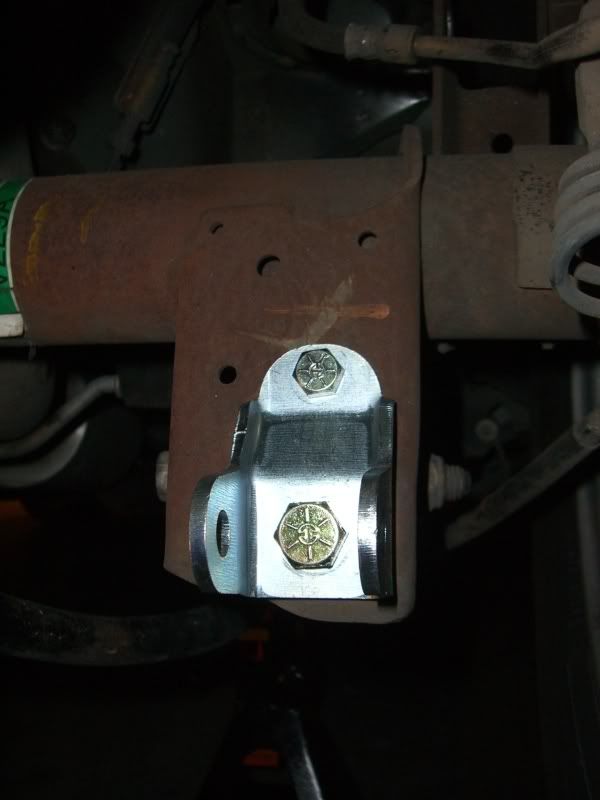
Now install the new shock mounts with the supplied hardware. Make sure to have the bolts facing forward as in the following pic. If they are reversed with the nuts towards the rear of the car, you will have clearance issues with the bottom portion of the shock.
![Image]()
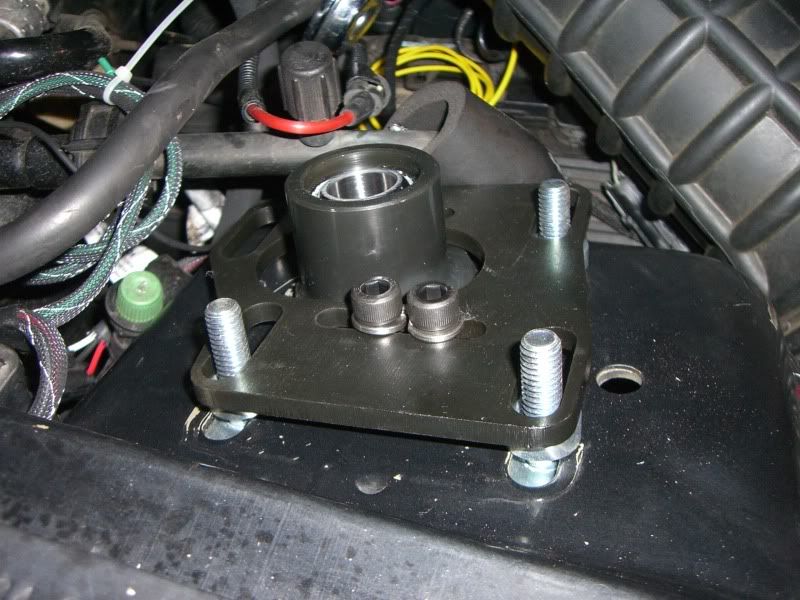
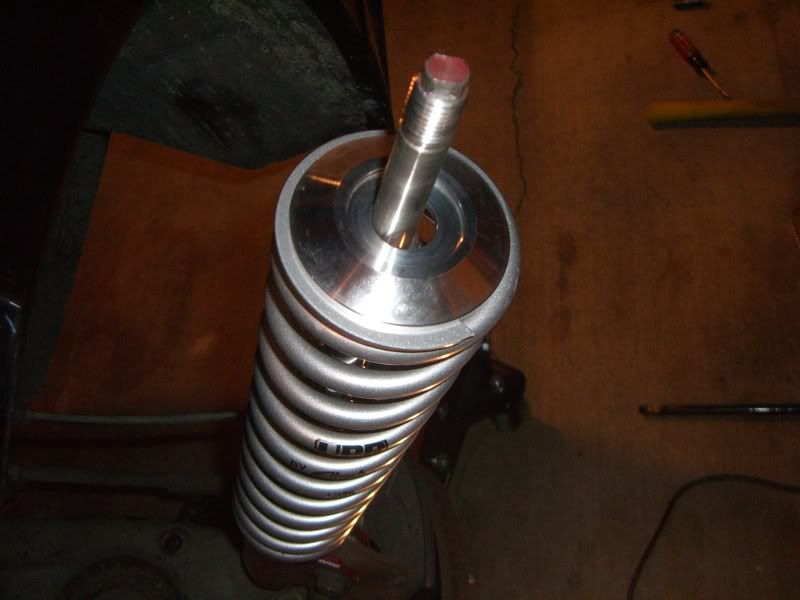
Now, remove the rubber bushngs from the bottom of the shocks. These will be replaced with billet aluminum bushings supplied with the kit. I found this easiest to do by spraying the bushings with some PB blaster or liquid wrench and tapping the bushings out with an appropriate sized socket. You must first tap out the small metal center piece before the rubber bushing will come out.
![Image]()
**UPDATED**As some of you know, I have just got my kit in the mail this week. Since I've have never seen a good one, I figured I'd do a little write up for the coil-over install. So here goes. We'll start out with the back, since that's all I have done right now. I will do the fronts tomorrow and finish the write up
Here's the kit in all it's glory
First, find a good place with plenty of space for the install.
Put both front seats as far forward as possible so you'll have space to work in the back seat. Fold the rear seats down to gain access to the trunk and rear top shock mounts. Pull the trunk liner on either side towards the center of the car to expose the top shock mounts.
Remove the top shock mount nut and bushings from both the passenger and driver's side rear shocks. Do this with the weight of the vehicle on the wheels to remove pressure from the top shock mounts.

Now the rear end of the vehicle can be raised and supported by jack stands. Place the jack stands under the side-rear jacking points or SFCs if installed. Note: If the car is supported by jack stands under the axle, the suspension will still be under a load, and you will not be able to remove the rear springs.
Remove the rear wheels/tires.
Remove the bolts passing through the bottom of the shocks that are holding them in place and remove the rear shocks from the vehicle.

From the side of the car, you can see the rear coil spring.
If the car is already lower as mine was, with the suspension in its current relaxed and extended state, the spring can be easily removed from the side. It may take a bit of twisting, but it will come out without too much trouble. (with stock height springs, you may have to disconnect the lower control arms to remove the coil springs)

With a 21mm box end wrench or ratchet wrench, remove the nut that hold the lower shock mounts to the axle housing, and remove the lower shock mounts. The factory lower shock mounts nee to be replaced when converting to a coil-over setup. The stock mounts are not designed to support the full burden of the car's weight.

Here is a couple shots comparing the new with the old. You can clearly see the difference in strength between the new and old shock mounts.
It's easy to see judging from the overall thickness and size of the coils why there is some weight loss associated with converting to a coil-over setup.
Back to the shock mounts. The new mounts come supplied with Grade-8 mounting hardware, but the top mounting hole needs to be widened just a hair to make room for the new 3/8" bolts. The hole in question is the center oblong shaped one.
Using a drill with a 3/8" bit, ream out the center of the bolt hole. It doesn't take much at all since the hole is just under 3/8" already.
Now install the new shock mounts with the supplied hardware. Make sure to have the bolts facing forward as in the following pic. If they are reversed with the nuts towards the rear of the car, you will have clearance issues with the bottom portion of the shock.
Now, remove the rubber bushngs from the bottom of the shocks. These will be replaced with billet aluminum bushings supplied with the kit. I found this easiest to do by spraying the bushings with some PB blaster or liquid wrench and tapping the bushings out with an appropriate sized socket. You must first tap out the small metal center piece before the rubber bushing will come out.