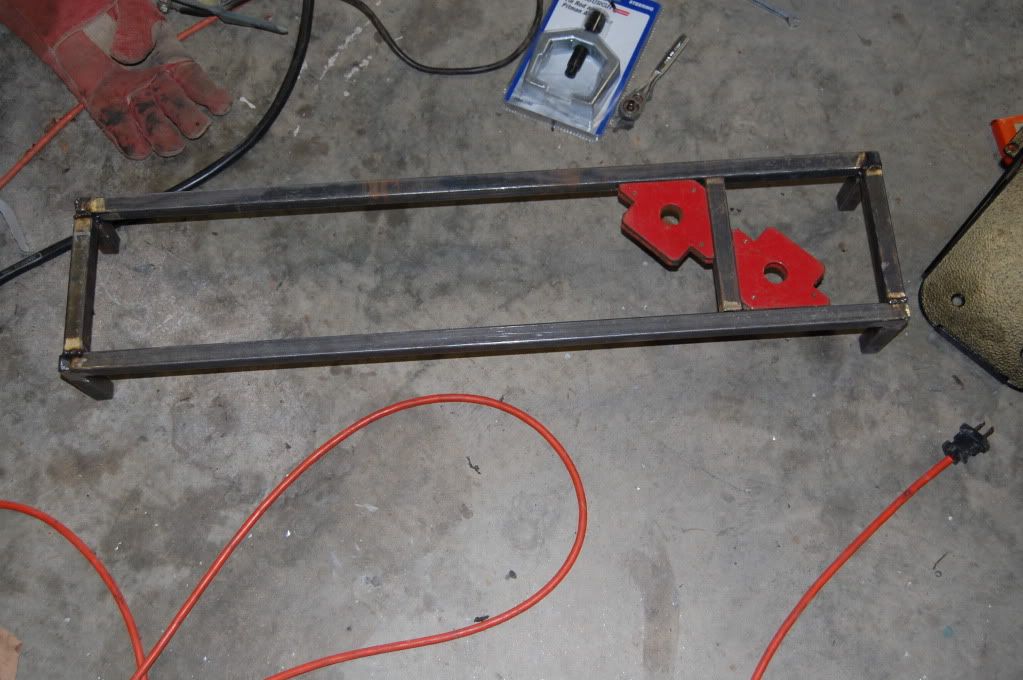
Modded Mustang Forums banner
421 - 440 of 456 Posts
Discussion starter · #425 ·
12/18/11

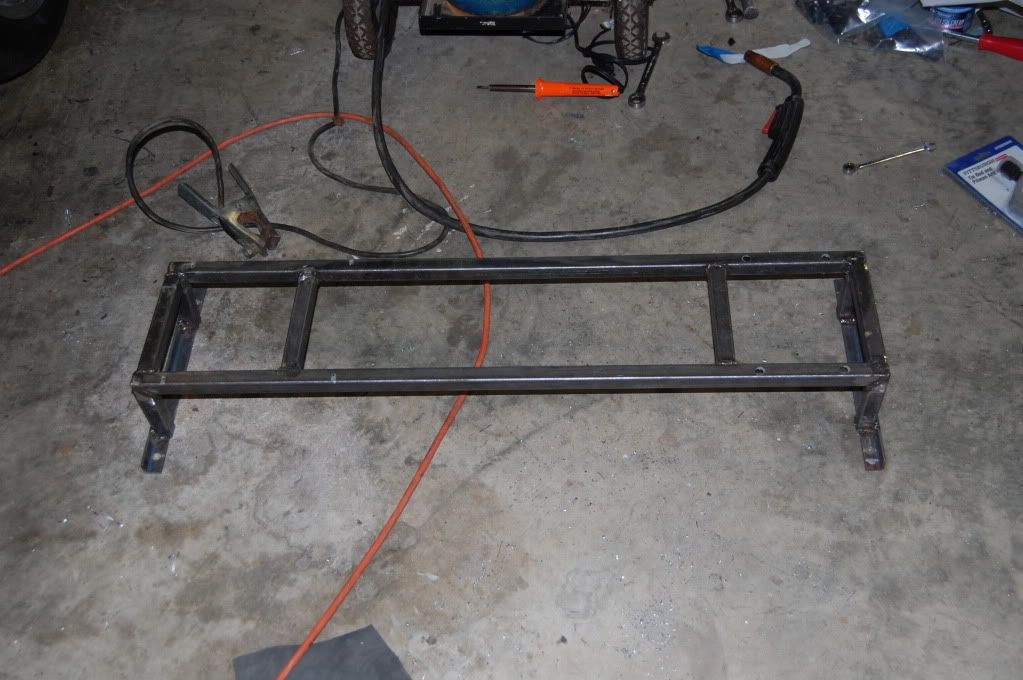
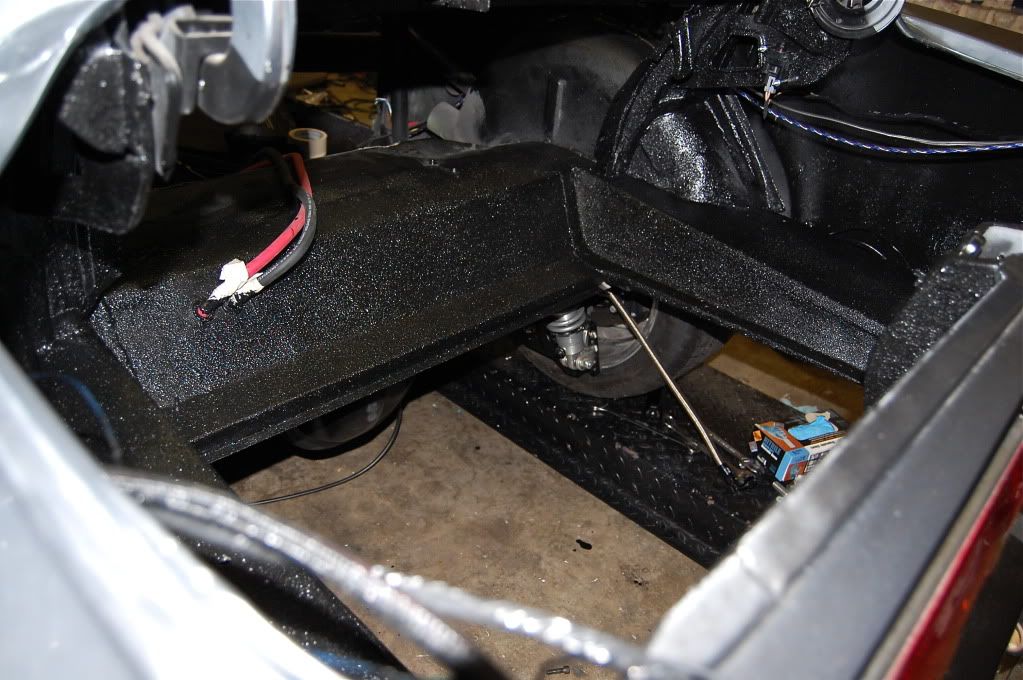
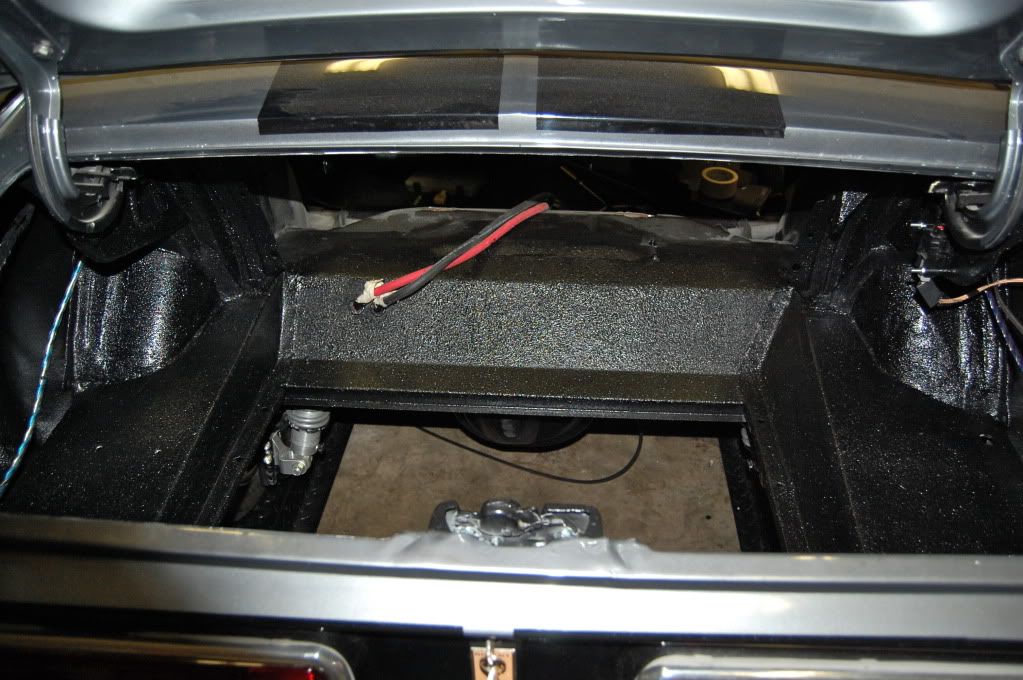
Made the bracket to go over the tank that holds the amp and will now hold the optima battery as well-I moved it from the drivers side of the trunk. Why i put it there to begin with, i have no idea.

Image


Image


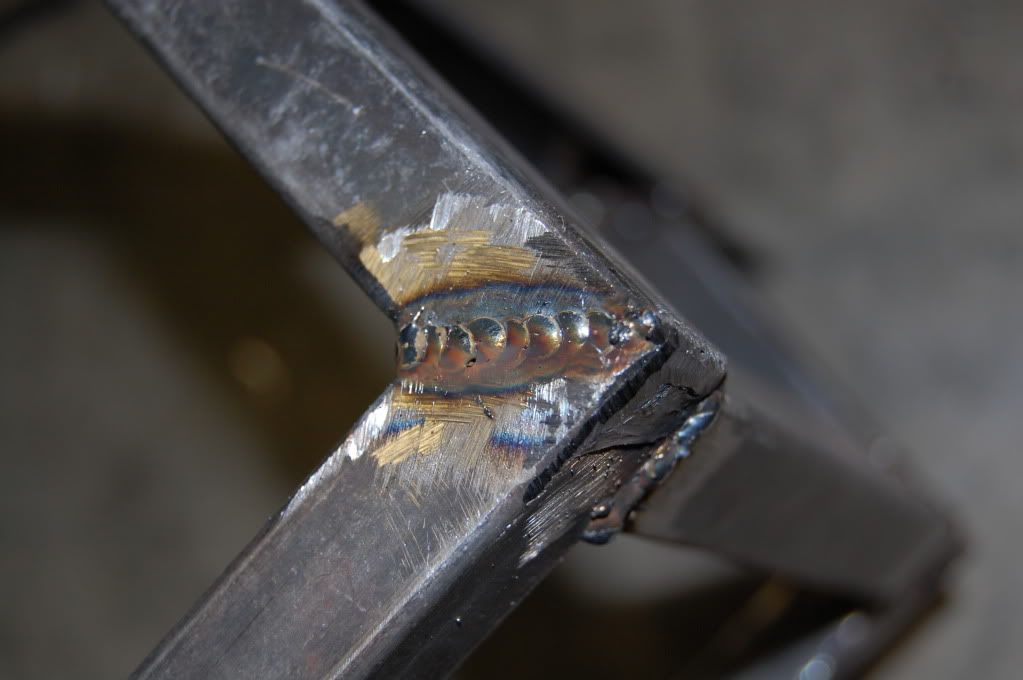
Hey look, I made a semi-decent weld.

Image


Image


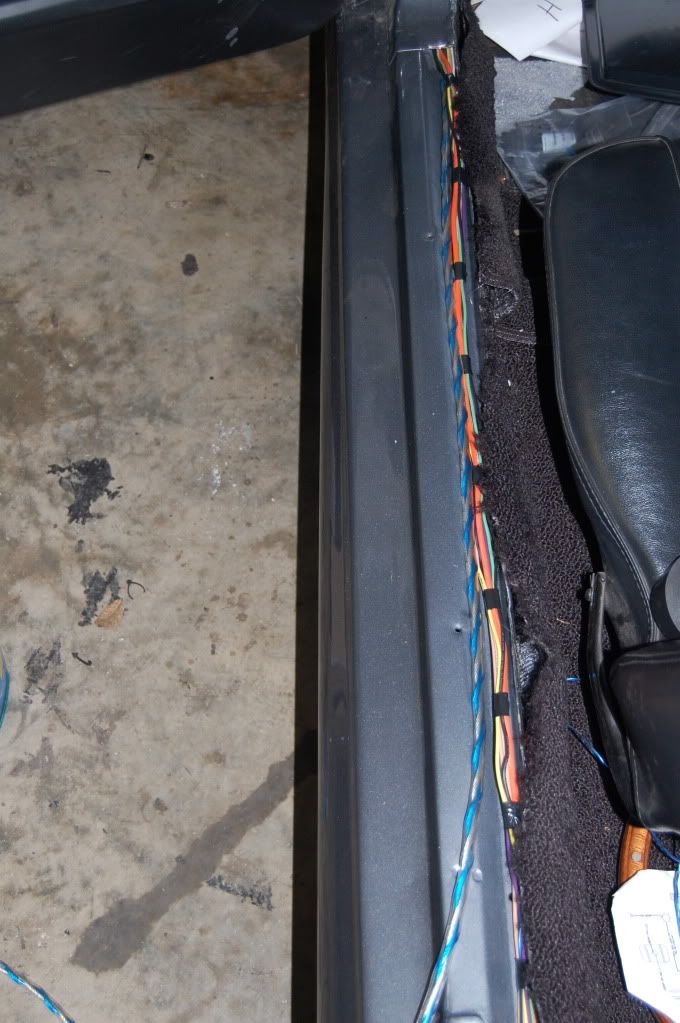
Wiring is now all wrapped up and neatly tucked away.

Image


Lokar E-brake handle installed in trans tunnel

Image


Image


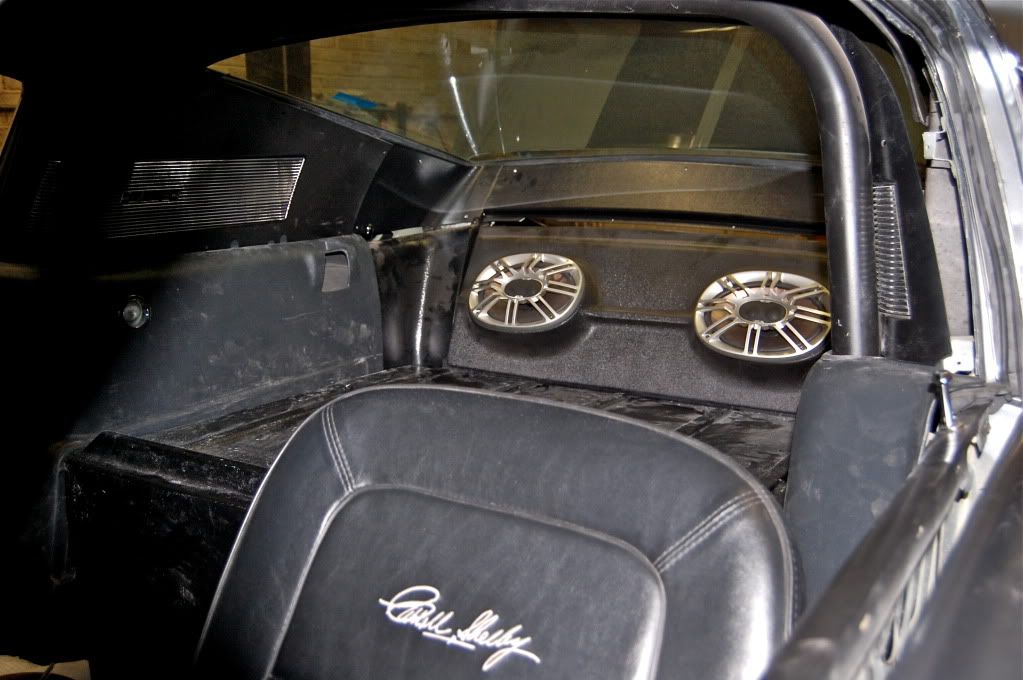
Fuse panel moved from trunk to rear seat area, which will be covered with the 66 Shelby seat delete.

Image


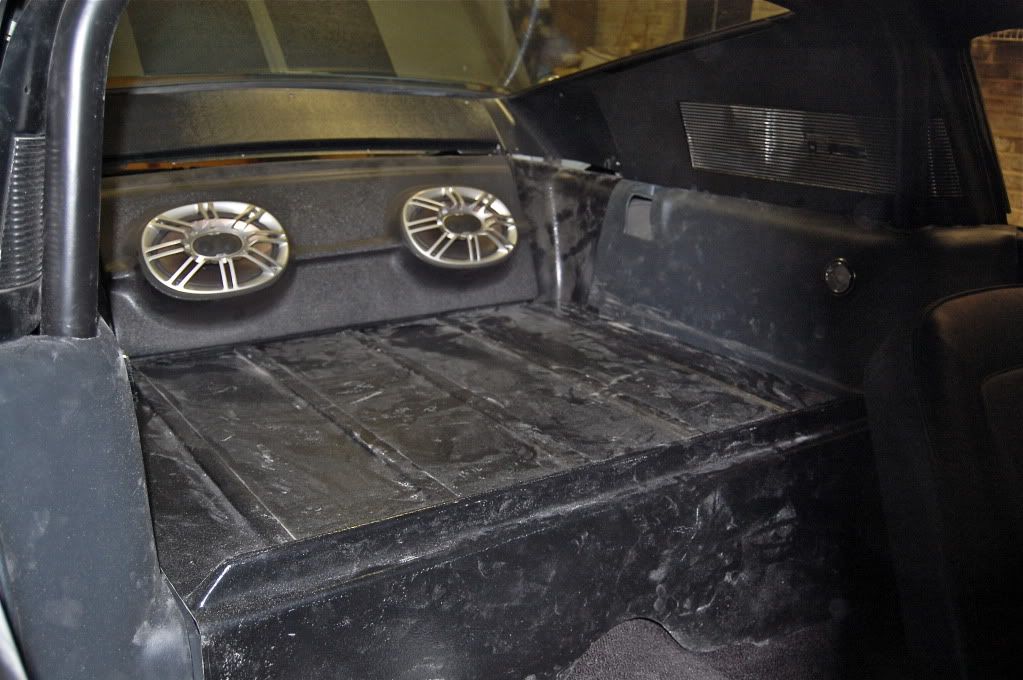
Seat delete trimmed and temporarily installed. Excuse the fiberglass dust. Quarter panels were also trimmed to fit around roll bar.

Image


Image


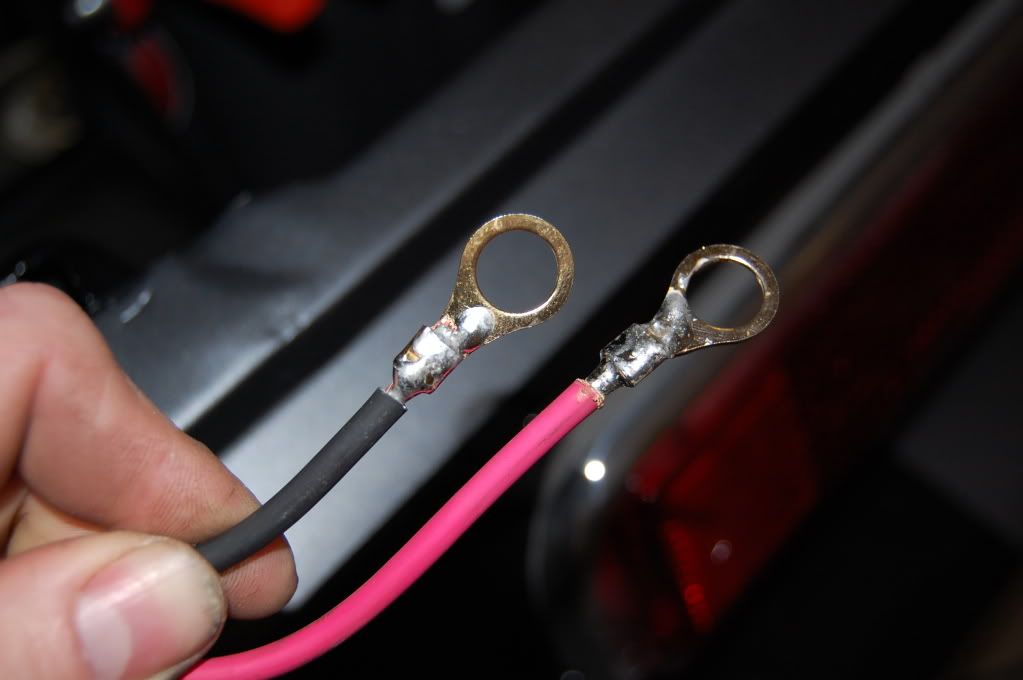
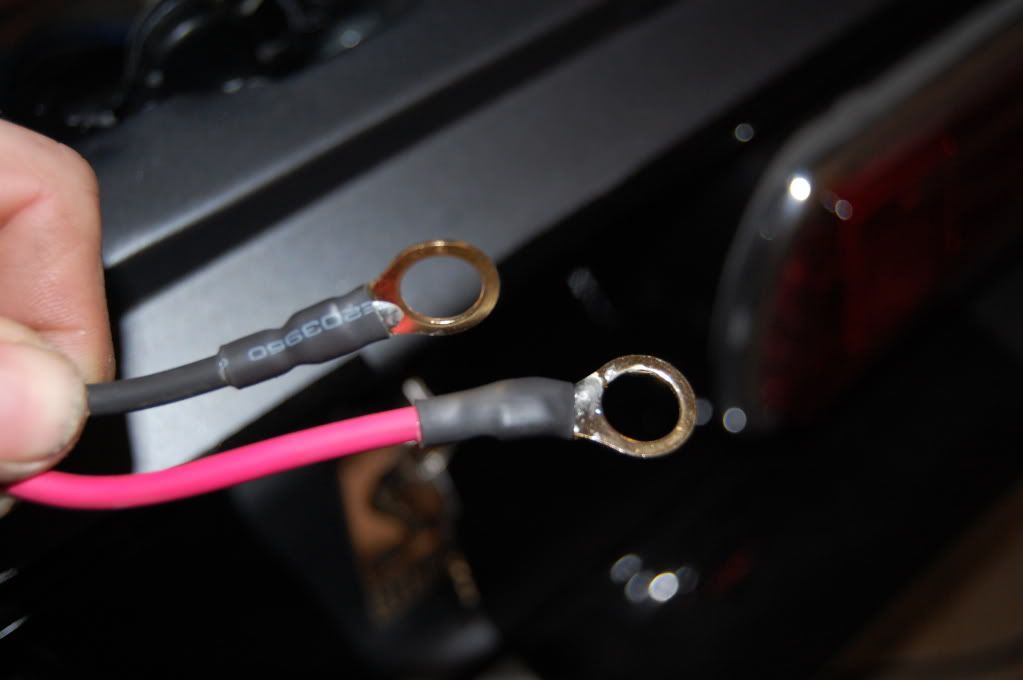
Why the wiring takes so long-each fitting is crimped, then soldered, and then I put heat shrink over the wire and connector.

Image


Image


Had to remove the fuel tank due to some issues, so i went ahead and put herculiner on the trunk floor and then rolled the quarter panels and outer wheel housings with satin black paint.

Image


Image
 
Looking great. I like that you are taking the time to make it beautiful inside and out and not cutting any corners. I could never imagine doing all this work to something and then selling it. :no
 
This thread just made work go by so fast :lol

I can't believe that I have never seen this thread until now.

Car looks so good man!
 
Discussion starter · #430 ·
Thanks! It's like the never ending build and i kind of feel like i am stuck in groundhog day everytime i work on the car. It seems like everything has had to be reworked at least once, but it's almost there. Just lots of little things left to do, but hopefully nothing major that is also majorly time consuming is still lurking.
I dont like the fuse panel wiring, but there isnt much I can do about it. It will be hidden, so not a big deal. If i were to do it again, i would go with the RJM injection harness, but i dont believe it was available when i was looking for wiring.
 
Discussion starter · #433 · (Edited)
I posted a video after the photos. It looks like a photo, but if you click on it, it will play. I'm using a new camera and i am still learning its features, so excuse the initial focus and the focus when i move from the interior to the engine bay.

After twelve hours of trying to make the front exhaust pipes myself, I threw in the towel and took the car to another exhaust shop. This shop had the front pipes fabricated in less than a day and they look great. The mufflers are now installed, but i still need to add flanges to the spintech mufflers and to the pipes that exit through the rockers and into the tips.

The plastic you see in the photos is in place to protect the carpet, seats, and rocker panels.

Image


Image


Discussion starter · #439 ·
Nothing has changed as far as engine fitment is concerned. Maybe it just looks that way because i installed the tower supports, organized the wiring, and removed the rest of the mess that was around the engine.

I'm really surprised at how well the engine sits in the car. If i wanted, i could install a hood with no scoop and it would clear
 
421 - 440 of 456 Posts