

Before everyone looks at the length of this post and just decides that it isnt worth it, it is a really easy install. it just takes about an hour or two at the most. It isn't completely done, I still need to take a few pictures. Good luck guys! let me know if this helps or if I need to change anything!
Tools:
Wire Strippers/cutters
Red and Black wires, doesn’t matter what gauge, just the smaller the better
Two strips of LEDs from AutoZone
Electrical and Painters Tape
Wire Splicers
Sharp Knife
![Image]()
(Electrical tape and splicers not shown)
Note:
-When mentioned to connect wires, you can twist wires together and tape (with electrical tape) or you can connect them with wire splicers
Bro-Tip: using wire splicers feels more secure; But, in my opinion looks ugly, so make sure you hide them nicely!
-When using splicers, have the ends of the wires that you want connected side by side and twist the splicers on (you should feel it get tight, just like a nut or bolt) Do not twist the wires together before you twist.
-When using electrical tape, twist the wires together nice and tight, making sure there is plenty of surface area of one wire touching the other. Tape all the exposed wire up, to make the connection real secure. Do not leave any of the wire exposed!
-Make sure you use the wire strippers to expose about a half-inch to an inch of wire of each of the wires to be connected
Step One:
Disconnect the negative battery cable (sorry no picture, figured everyone knows what that looks like)
Step Two:
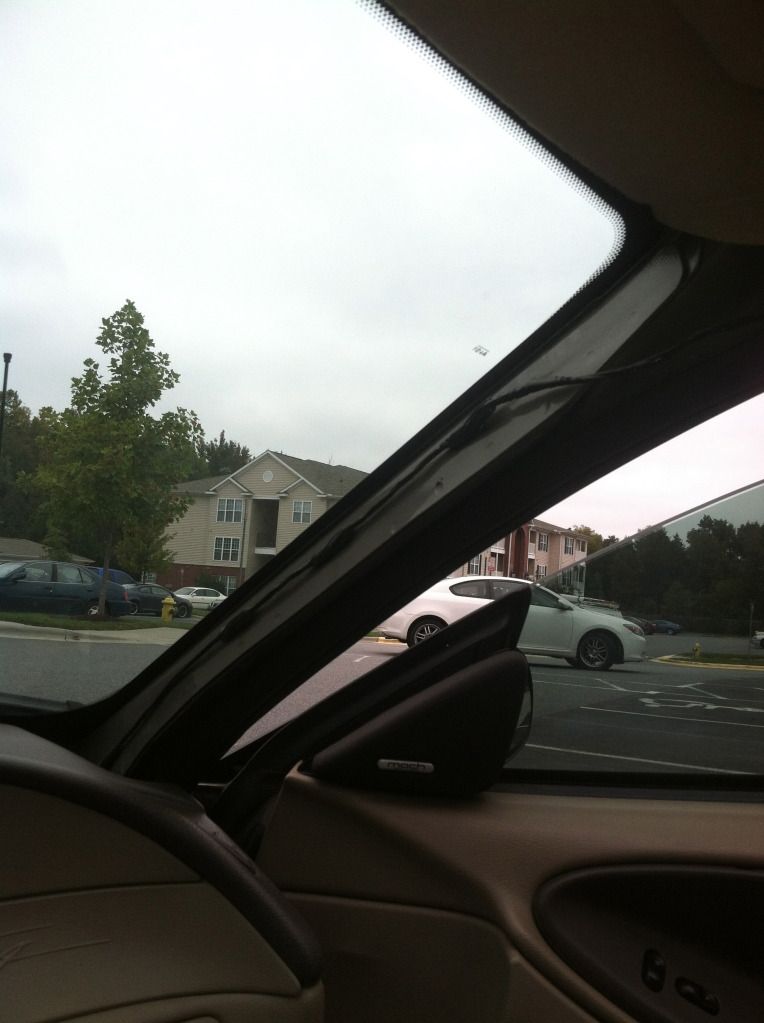
-Locate the passenger side A-Pillar.
![Image]()
-Grab the top of the plastic A-Pillar, where the plastic and headliner meet.
![Image]()
-Pull. Don’t be scared about breaking the clips that hold them up, they are pretty solid
Step Three:
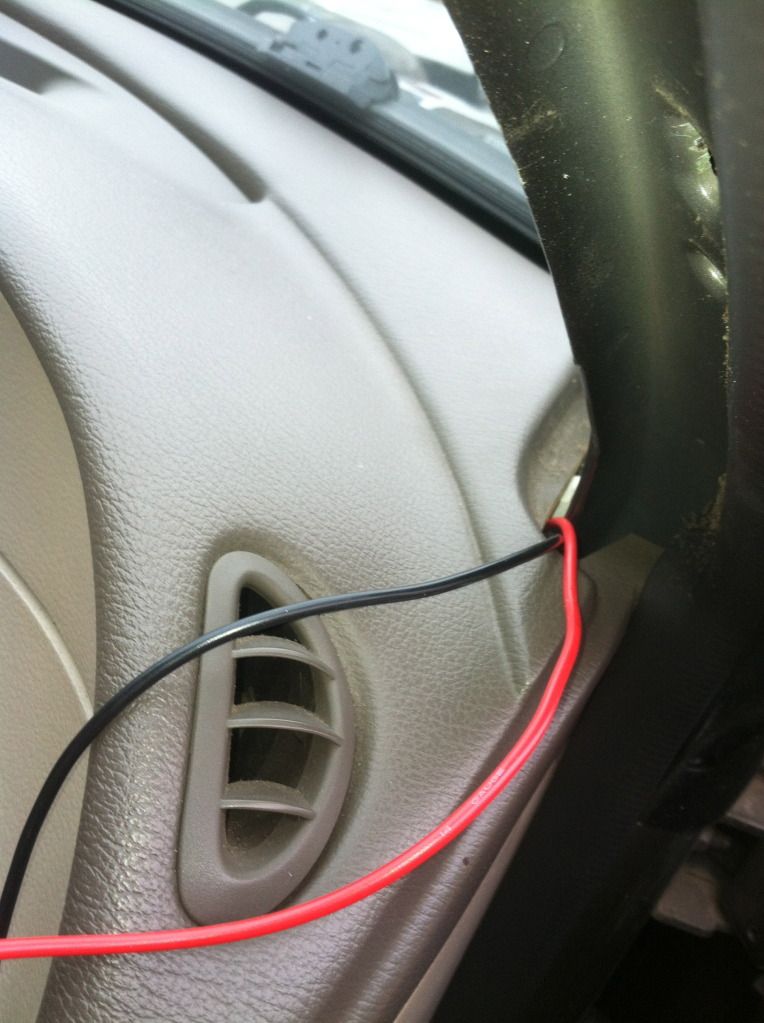
-Feed a wire down from the base of the A-Pillar, down towards the floorboard through the dash
![Image]()
-Once you get one of the four wires through to the bottom of the dash, securely tape another wire to the wire that is already through the dash.
-Now, pull the first wire down, pulling the next wire through the dash. Once you have one positive and one negative wire fed through the dash
-Cut the wire so you have about two feet of wire above the dash.
-Repeat the second part of step three until you have two positive wires and two negative wires
Step Four:
-Take one of the LED strips and place it in the driver’s side floorboard with the wires going towards the passenger side.
-Feed the wires through the cluster of wires from the drivers side to the passenger side, under the radio
![Image]()
-Take the other LED strip and place it on the floorboard with the wires going in the direction of the A-Pillar
Note:
You should have a whole bunch of wires now in the passenger side floorboard
-two wires from the drivers side LED strip
-two wires from the passenger side LED strip
-four wires coming down from the A-Pillar direction (two positive, two negative)
Step Five:
-Connect the two red wires with each of the red wires from the LED strips
-Connect the two black wires with each of the black wires from the LED strips
![Image]()
Step Six:
-Once you have the strips connected to the wires that are fed through dash, take the two red wires and connect them to a single red wire. This step just cleans things up a bit when you are trying to connect the positive wires to a live wire (wire that is already connected to the battery)
-Do the same thing to the black wires, since you have to connect them to a grounded wire
-Now that you reduced all the wires to a single positive and negative wire (red and black wire, respectively). Set them aside for later use.
Step Seven:
-When you took off the plastic, A-Pillar, you noticed there was a wire hidden under it.
![Image]()
-There are three pushpins holding the wire to the body. Disconnect them by pulling it away from the body. You might need to use leverage, like a screwdriver or something.
![Image]()
![Image]()
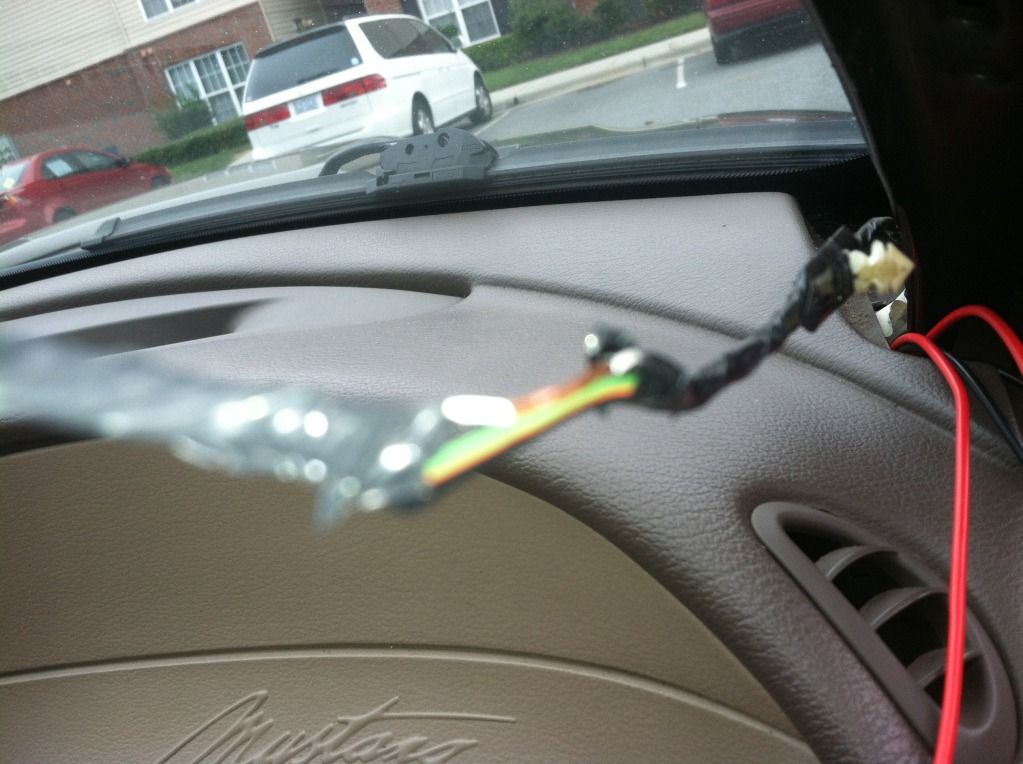
-CAREFULLY remove the black shrink-wrap from that wire; I used my knife to make it a little easier to remove
![Image]()
(sorry fuzzy pic, phone wouldn’t focus)
-Now you have three wires shown:
-Black (Ground)
-Black with white stripe (Live)
-Green
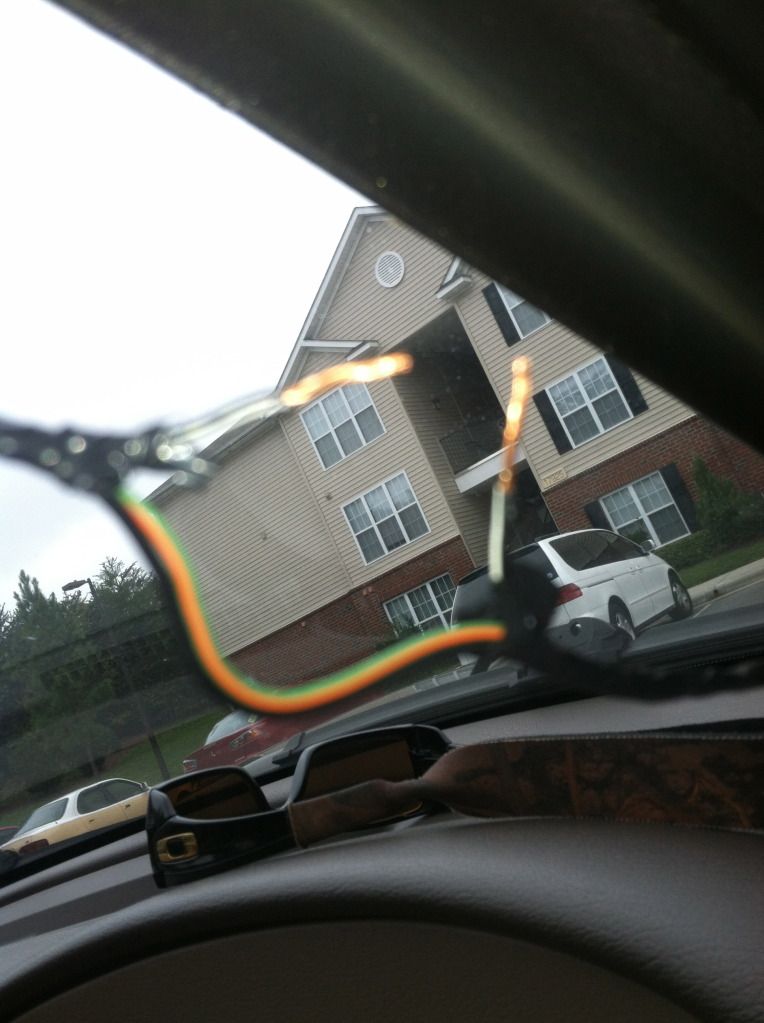
(If you accidently cut all the way through the wire, like me, refer to the bottom of the write up)
![Image]()
(oops!)
Step Eight:
-Expose some of the live wire (about an inch)
-Use the strippers to cut the rubber surrounded the wire, then use your knife to slice the rubber and pull it off, leaving nothing but bare wire exposed.
- Do the same thing on the ground wire
Step Nine:
-Twist the red wire around the live wire, making sure you have a good connection between the two wires. Make sure, when you tape them, you get everything nice and tight so it won’t come loose.
-Do the same thing with the ground wire.
Step Ten:
-Check all your wiring and connections, to make sure there is no faulty or lose wiring (you don’t want to cause a short)
-Reconnect your battery cable and check to see if they work
-If not, make sure all the wires are connected the way they should be and you didn’t make any careless mistakes
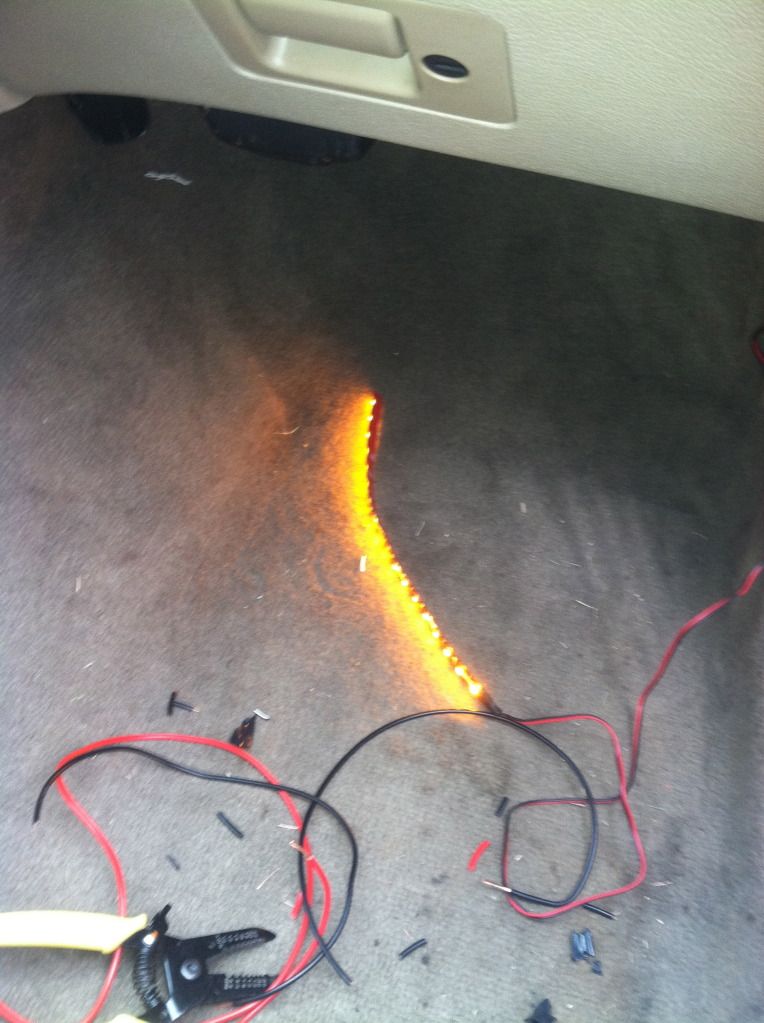
Step Eleven:
-SUCCESS!
![Image]()
-Now that you know everything is working properly, look under the dash to see if you can find somewhere to stick the LEDs to.
-Take note on the places that might work and wait until nighttime.
-Once it is dark, tape the LEDs to where you want to put them. (use painters tape, its easy to remove and wont leave any residue behind)
Step Twelve:
-Now that you figured out where to put them LED Strips, clean the area with rubbing alcohol or mild soap.
-Wait until the area is dry, peel off the back of the LED Strip and carefully stick the LEDs where you want them to be.
-Press firmly on the strips to make sure they are securely in place.
Step Thirteen:
-As you can see there is a lot of loose wires hanging around. I made sure to use extra wire so there is plenty of room for error
-You can either cut the wires shorter and reconnect them the way they were to clean things up a bit, or zip tie them up and away from site behind the dash.
-Push the pushpins from behind the A-Pillar (from step seven)
-Reinstall the Plastic A-Pillar, starting from the bottom, and working your way up; making sure all the clips line up correctly.
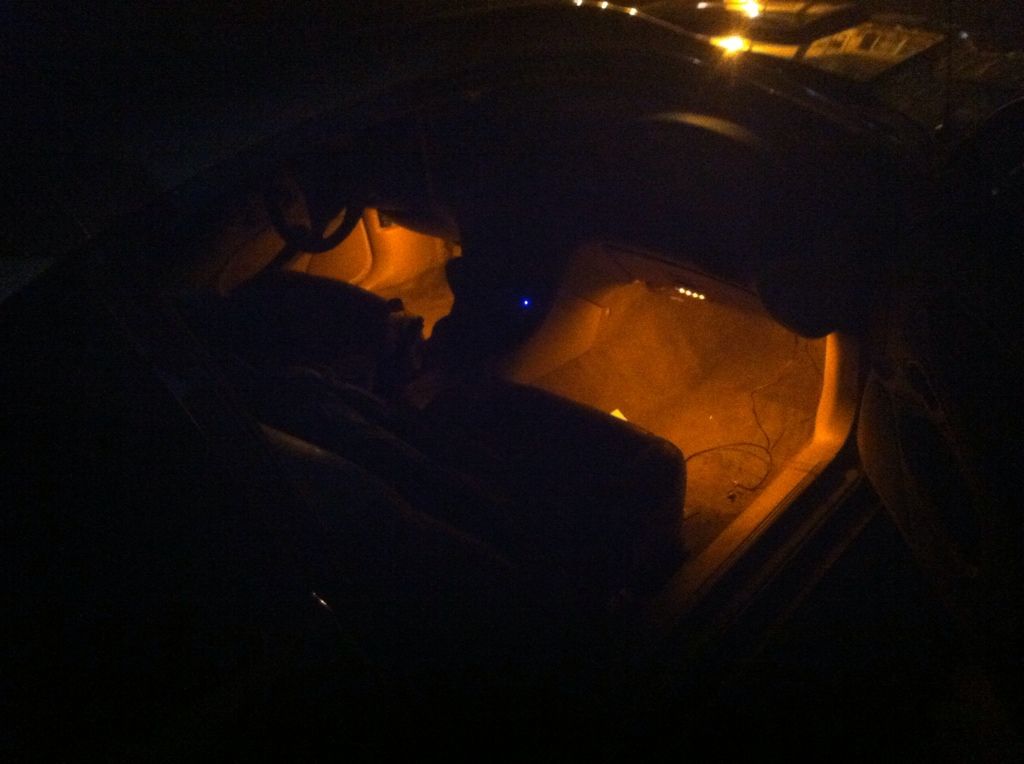
THE END! ENJOY YOUR NEW ACCENT LIGHTS!
![Image]()
![Image]()
DISCLAIMER:
-I am not responsible for any damage done while you try and install accent lights
-Not all the information is from me; but it is exactly what I did in my car
If you cut the wire in step seven, you are going to have to wire it up like this…
[insert picture of how I "fixed:" it when I get time]
I wouldn’t know where to begin to expain what all I did here :lol
Tools:
Wire Strippers/cutters
Red and Black wires, doesn’t matter what gauge, just the smaller the better
Two strips of LEDs from AutoZone
Electrical and Painters Tape
Wire Splicers
Sharp Knife

(Electrical tape and splicers not shown)
Note:
-When mentioned to connect wires, you can twist wires together and tape (with electrical tape) or you can connect them with wire splicers
Bro-Tip: using wire splicers feels more secure; But, in my opinion looks ugly, so make sure you hide them nicely!
-When using splicers, have the ends of the wires that you want connected side by side and twist the splicers on (you should feel it get tight, just like a nut or bolt) Do not twist the wires together before you twist.
-When using electrical tape, twist the wires together nice and tight, making sure there is plenty of surface area of one wire touching the other. Tape all the exposed wire up, to make the connection real secure. Do not leave any of the wire exposed!
-Make sure you use the wire strippers to expose about a half-inch to an inch of wire of each of the wires to be connected
Step One:
Disconnect the negative battery cable (sorry no picture, figured everyone knows what that looks like)
Step Two:
-Locate the passenger side A-Pillar.

-Grab the top of the plastic A-Pillar, where the plastic and headliner meet.

-Pull. Don’t be scared about breaking the clips that hold them up, they are pretty solid
Step Three:
-Feed a wire down from the base of the A-Pillar, down towards the floorboard through the dash
-Once you get one of the four wires through to the bottom of the dash, securely tape another wire to the wire that is already through the dash.
-Now, pull the first wire down, pulling the next wire through the dash. Once you have one positive and one negative wire fed through the dash
-Cut the wire so you have about two feet of wire above the dash.
-Repeat the second part of step three until you have two positive wires and two negative wires
Step Four:
-Take one of the LED strips and place it in the driver’s side floorboard with the wires going towards the passenger side.
-Feed the wires through the cluster of wires from the drivers side to the passenger side, under the radio

-Take the other LED strip and place it on the floorboard with the wires going in the direction of the A-Pillar
Note:
You should have a whole bunch of wires now in the passenger side floorboard
-two wires from the drivers side LED strip
-two wires from the passenger side LED strip
-four wires coming down from the A-Pillar direction (two positive, two negative)
Step Five:
-Connect the two red wires with each of the red wires from the LED strips
-Connect the two black wires with each of the black wires from the LED strips

Step Six:
-Once you have the strips connected to the wires that are fed through dash, take the two red wires and connect them to a single red wire. This step just cleans things up a bit when you are trying to connect the positive wires to a live wire (wire that is already connected to the battery)
-Do the same thing to the black wires, since you have to connect them to a grounded wire
-Now that you reduced all the wires to a single positive and negative wire (red and black wire, respectively). Set them aside for later use.
Step Seven:
-When you took off the plastic, A-Pillar, you noticed there was a wire hidden under it.
-There are three pushpins holding the wire to the body. Disconnect them by pulling it away from the body. You might need to use leverage, like a screwdriver or something.


-CAREFULLY remove the black shrink-wrap from that wire; I used my knife to make it a little easier to remove
(sorry fuzzy pic, phone wouldn’t focus)
-Now you have three wires shown:
-Black (Ground)
-Black with white stripe (Live)
-Green
(If you accidently cut all the way through the wire, like me, refer to the bottom of the write up)
(oops!)
Step Eight:
-Expose some of the live wire (about an inch)
-Use the strippers to cut the rubber surrounded the wire, then use your knife to slice the rubber and pull it off, leaving nothing but bare wire exposed.
- Do the same thing on the ground wire
Step Nine:
-Twist the red wire around the live wire, making sure you have a good connection between the two wires. Make sure, when you tape them, you get everything nice and tight so it won’t come loose.
-Do the same thing with the ground wire.
Step Ten:
-Check all your wiring and connections, to make sure there is no faulty or lose wiring (you don’t want to cause a short)
-Reconnect your battery cable and check to see if they work
-If not, make sure all the wires are connected the way they should be and you didn’t make any careless mistakes
Step Eleven:
-SUCCESS!
-Now that you know everything is working properly, look under the dash to see if you can find somewhere to stick the LEDs to.
-Take note on the places that might work and wait until nighttime.
-Once it is dark, tape the LEDs to where you want to put them. (use painters tape, its easy to remove and wont leave any residue behind)
Step Twelve:
-Now that you figured out where to put them LED Strips, clean the area with rubbing alcohol or mild soap.
-Wait until the area is dry, peel off the back of the LED Strip and carefully stick the LEDs where you want them to be.
-Press firmly on the strips to make sure they are securely in place.
Step Thirteen:
-As you can see there is a lot of loose wires hanging around. I made sure to use extra wire so there is plenty of room for error
-You can either cut the wires shorter and reconnect them the way they were to clean things up a bit, or zip tie them up and away from site behind the dash.
-Push the pushpins from behind the A-Pillar (from step seven)
-Reinstall the Plastic A-Pillar, starting from the bottom, and working your way up; making sure all the clips line up correctly.
THE END! ENJOY YOUR NEW ACCENT LIGHTS!

DISCLAIMER:
-I am not responsible for any damage done while you try and install accent lights
-Not all the information is from me; but it is exactly what I did in my car
If you cut the wire in step seven, you are going to have to wire it up like this…
[insert picture of how I "fixed:" it when I get time]
I wouldn’t know where to begin to expain what all I did here :lol


