I'm doing this right now so I thought I would take pictures along the way and write this up in-between coats while I wait. Mods feel free to sticky. This is my first time trying to do a write up. Everything was done from my IPhone using the photobucket app(free) and this web site.
List of supplies:
7/16 wrench
Small screw driver
Rubbing alcohol
Steel wool or other abrasive material
Automotive masking tape
Razor blade (not needed but good to have)
Dupli-color in your cars color. Auto Zone $6
Dupli-color clear coat. Auto zone $6
Paper towels
1000-2000 grit sand paper if your are going to wet sand. I'm going to try it.
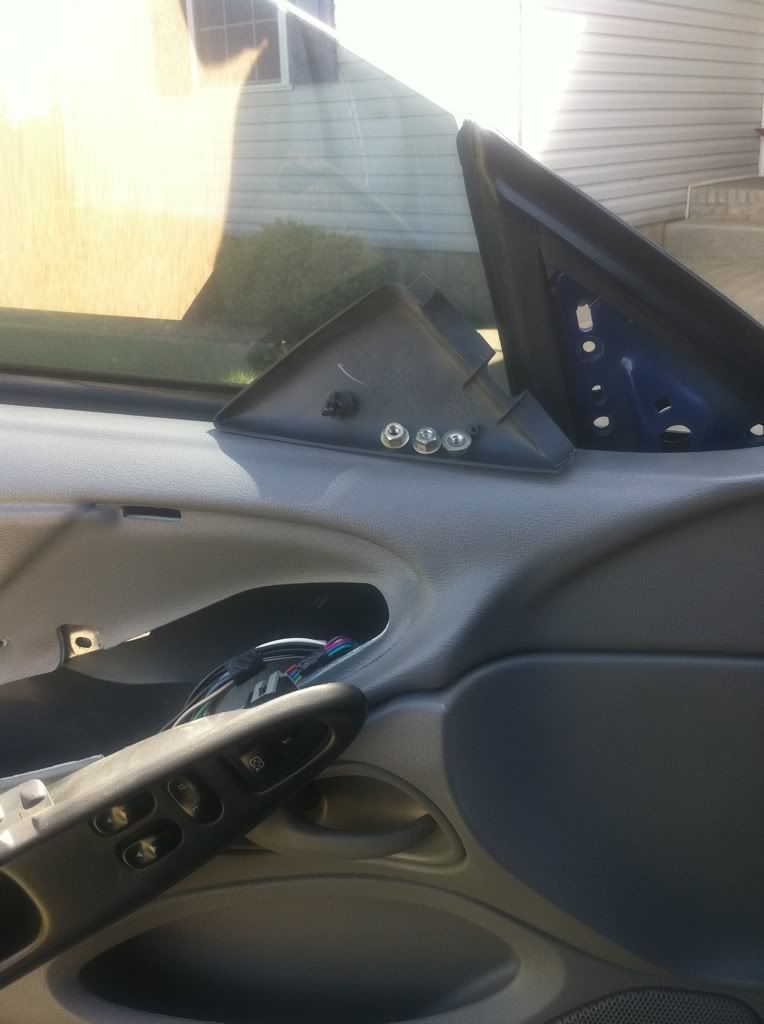
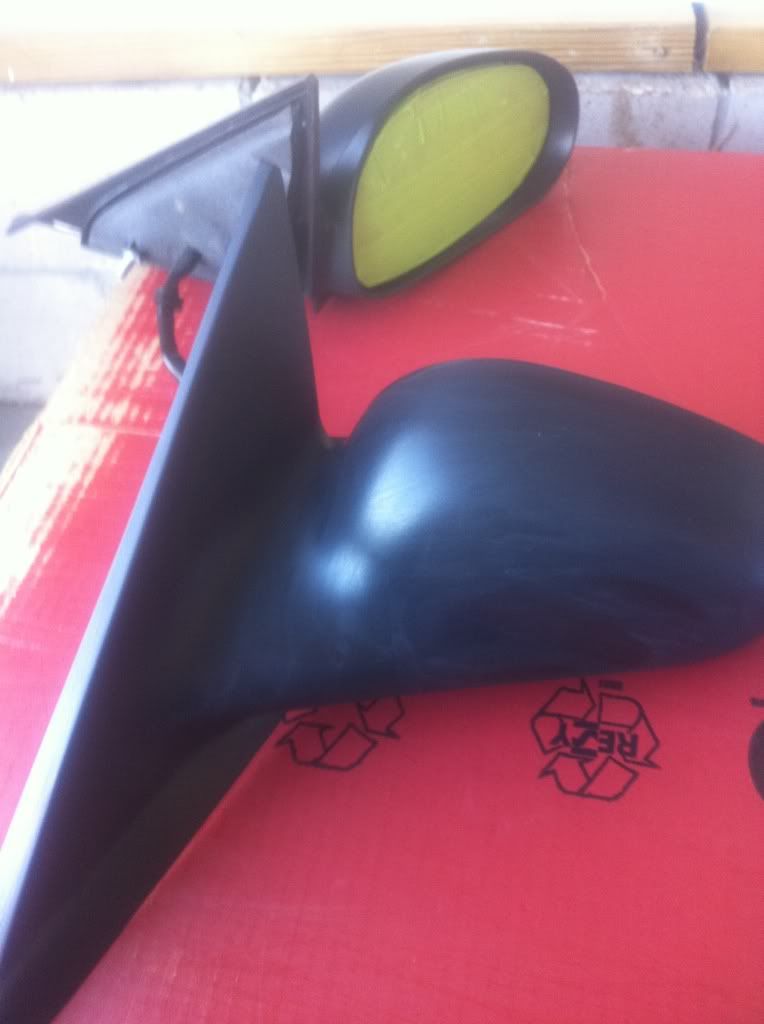
Start by removing your mirrors. Pry the cover off with your hand or screw driver. (i don't have the Mach system so mine was just a cover.) 7/16 wrench to undo three nuts. Pull the door handle part of the door off just so you can get to the power mirror conection tab. Use the small screw driver to open the tab and the pull the mirror off completely.
![Image]()
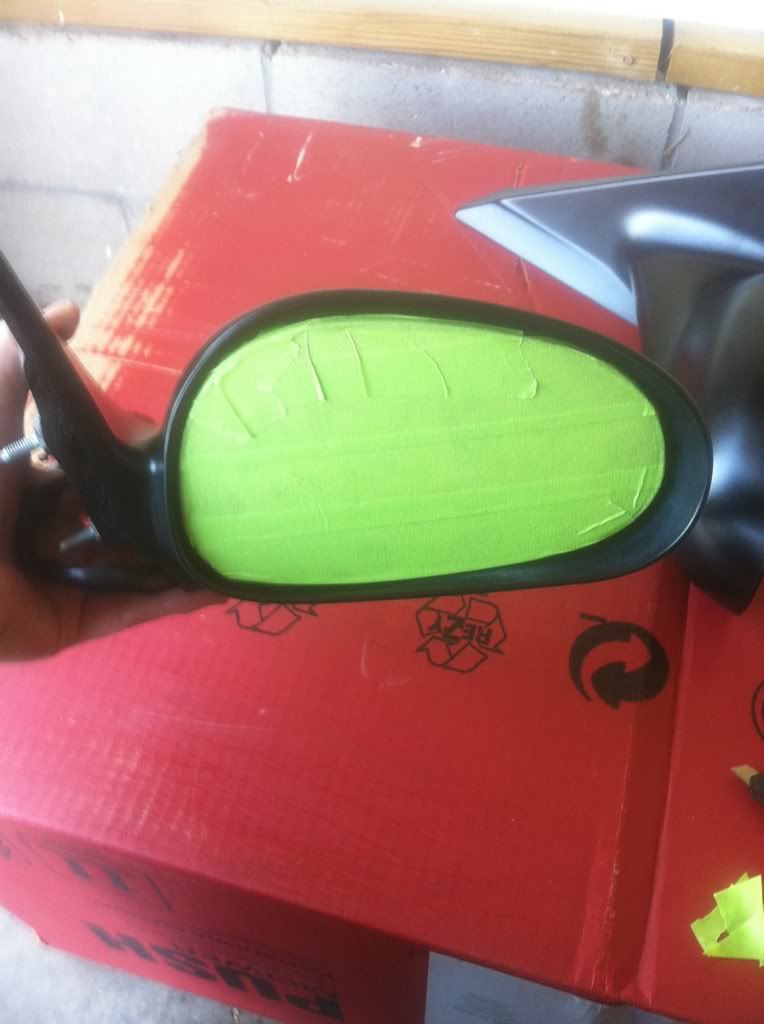
Next, take the masking tape and completely cover the mirror portion and make sure you wrap the tape tightly around the edges so you can over spray the inside edges of the housing.
![Image]()
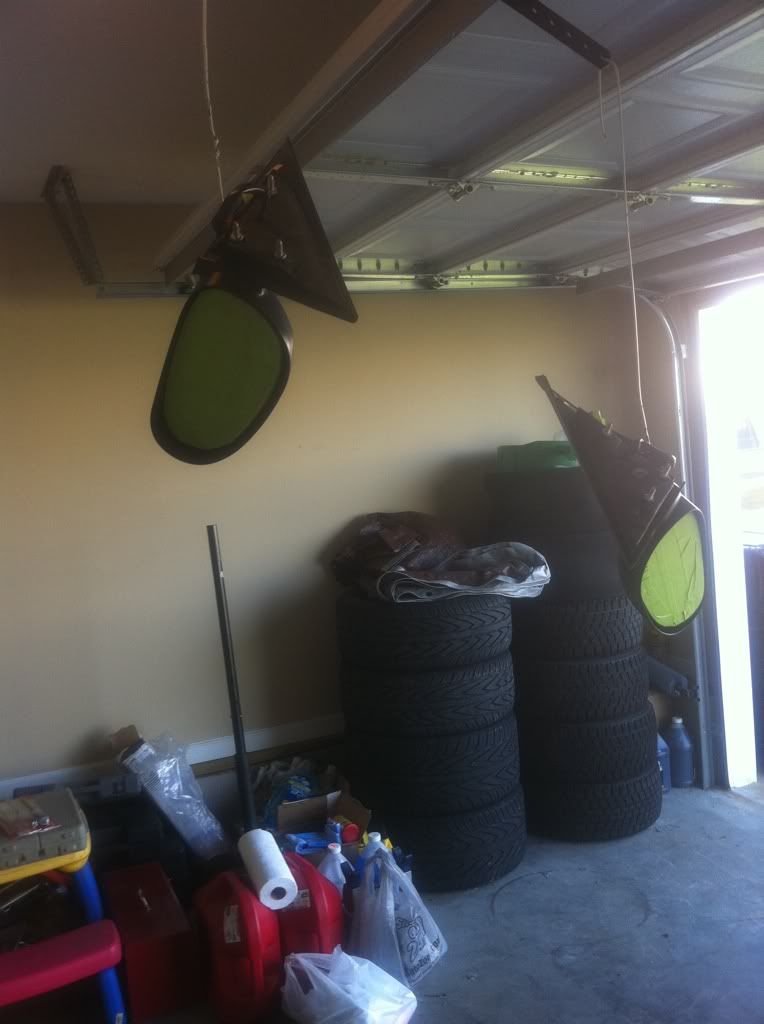
Now, take your steel wool and just ruff up the whole thing. It doesn't take much to start taking the plastic off. When you are done, wipe the whole surface down with a paper towel wet with the rubbing alcohol. I hung them up off of my garage door,with a coat hanger, with door half way down and a tarp hanging down from the door to prevent over spray on our cars in the drive way.
![Image]()
![Image]()
![Image]()
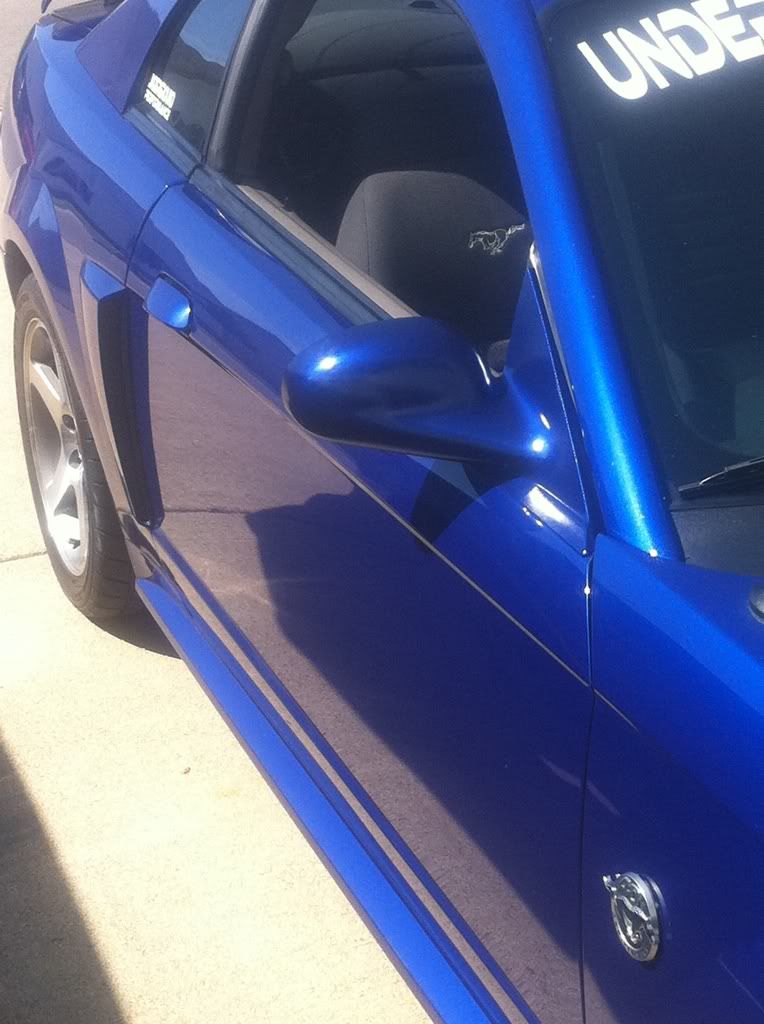
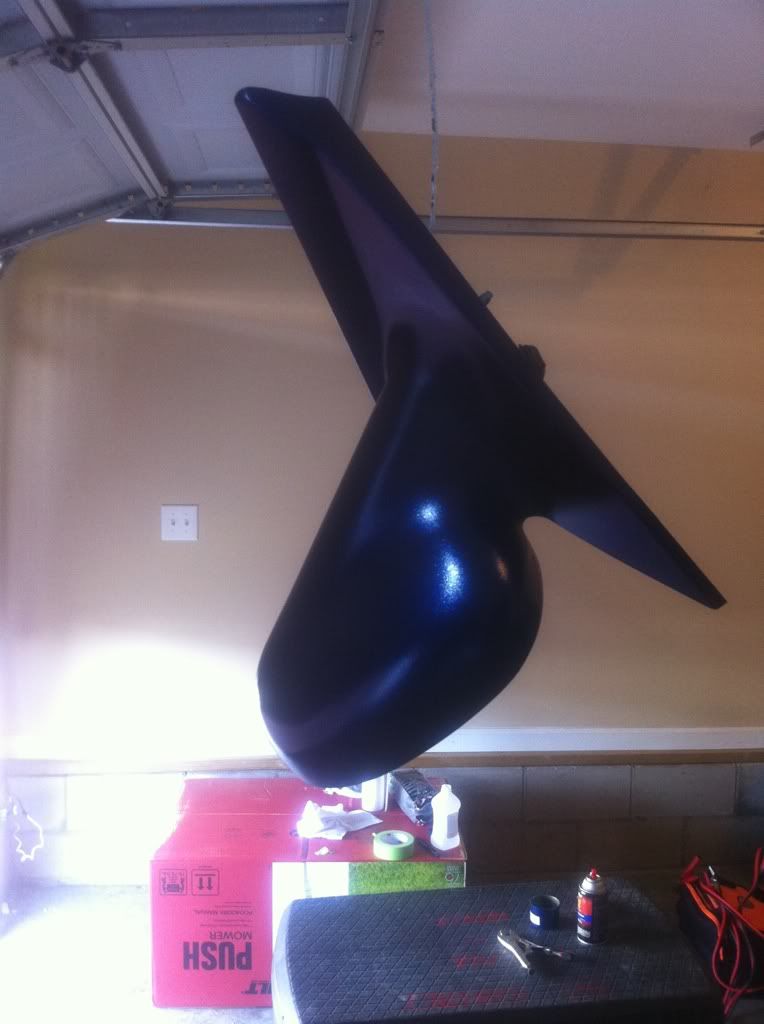
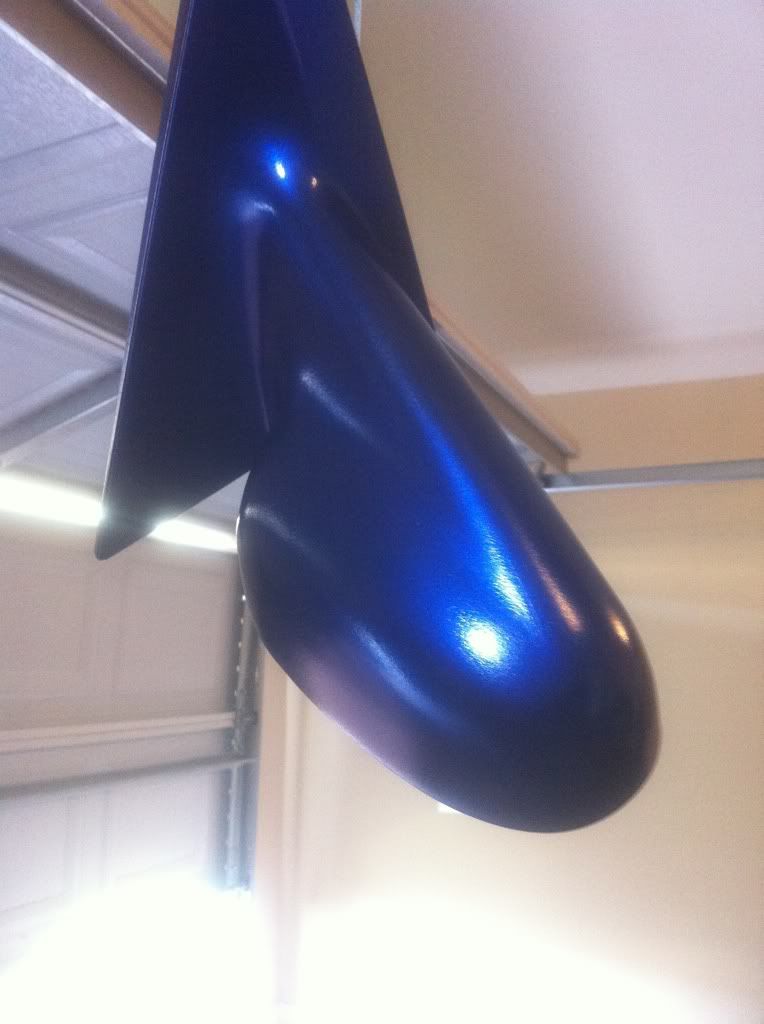
Now the fun begins. Shake the spray can as per directions and begin your first coat. Wait 10mins between coats.
Coat #1
![Image]()
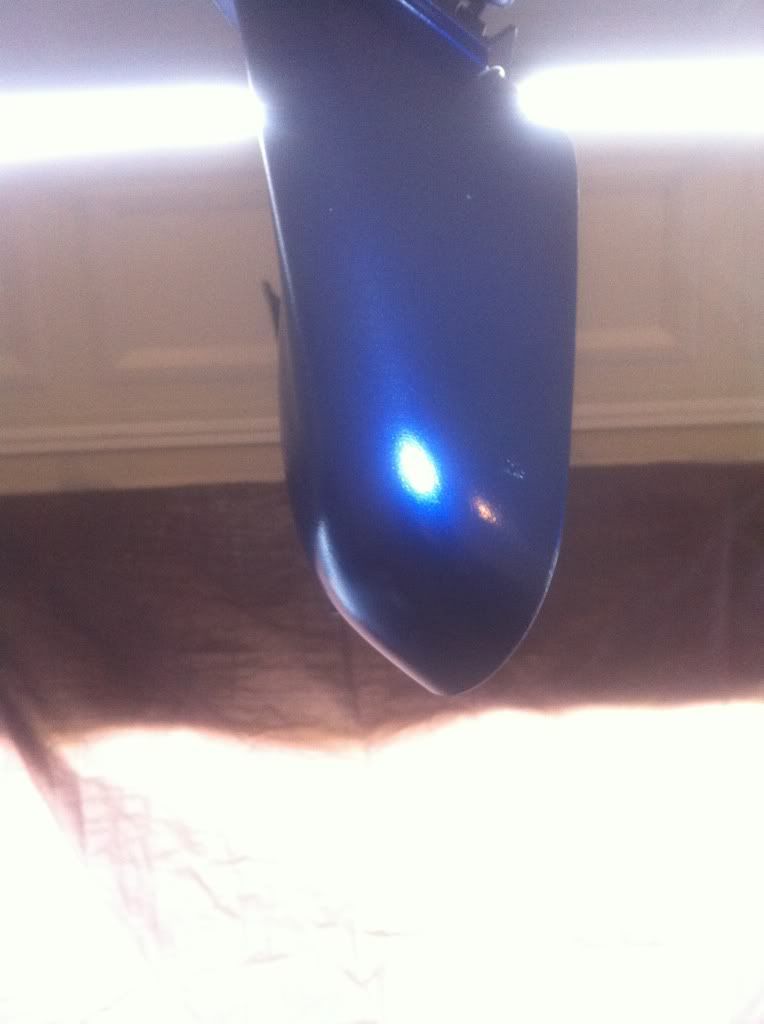
Coat #3
![Image]()
![Image]()
Now I'm waiting 30 mins before I start the clear coat process. So far I am VERY impressed with not only the color match, but just how easy this really is to do, and I think it will look really good, as long my clear comes out nice.
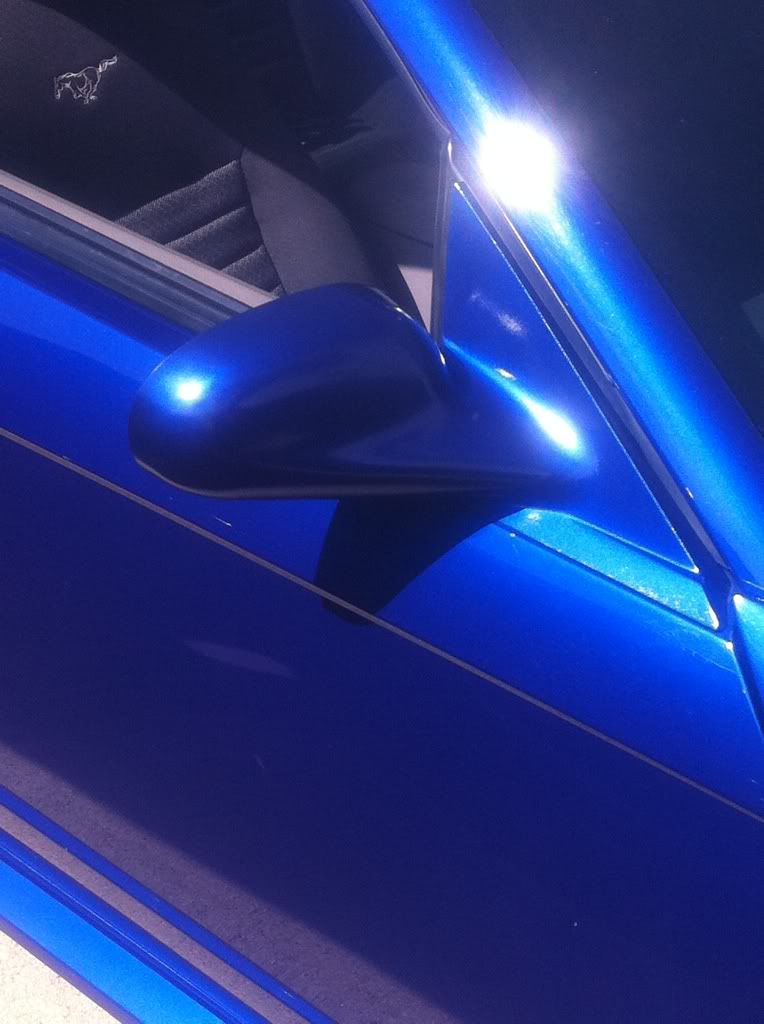
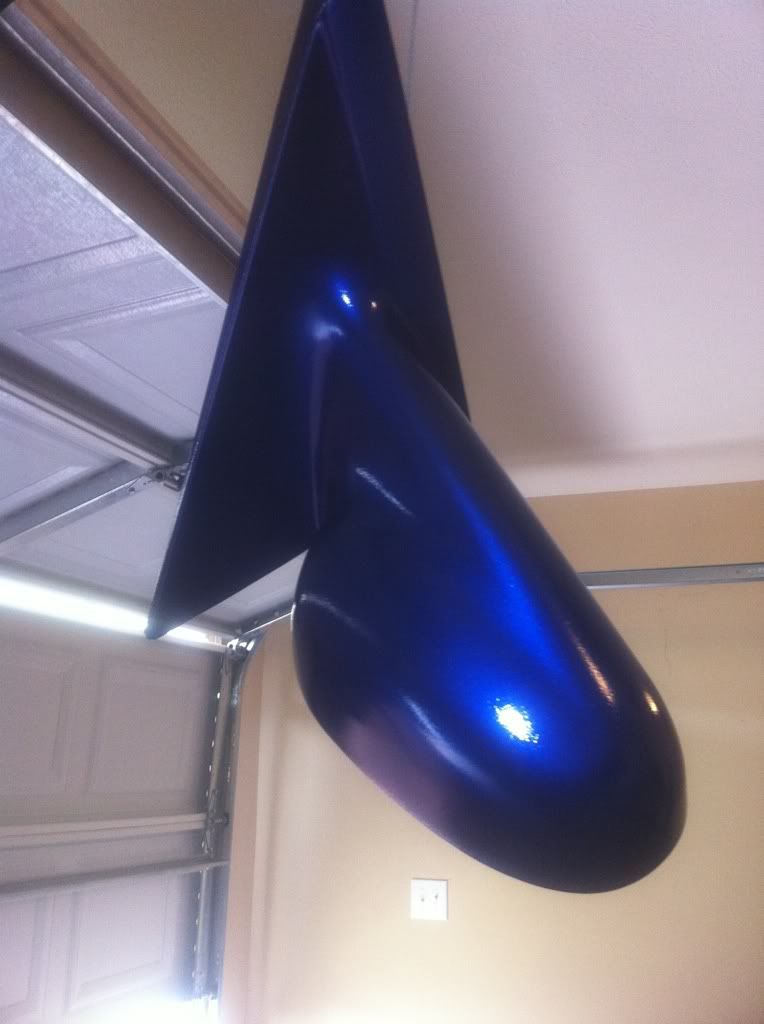
Ok, now I have waited 50 mins give or take. I sprayed the clear the same way as the paint with 10 mins between coats. I will probably do 3-4 and then let them dry for a good hour before attempting to wet sand them. Only one coat of clear and they are really starting to look good now.
Coat #1 clear
![Image]()
Coat #2 clear
![Image]()
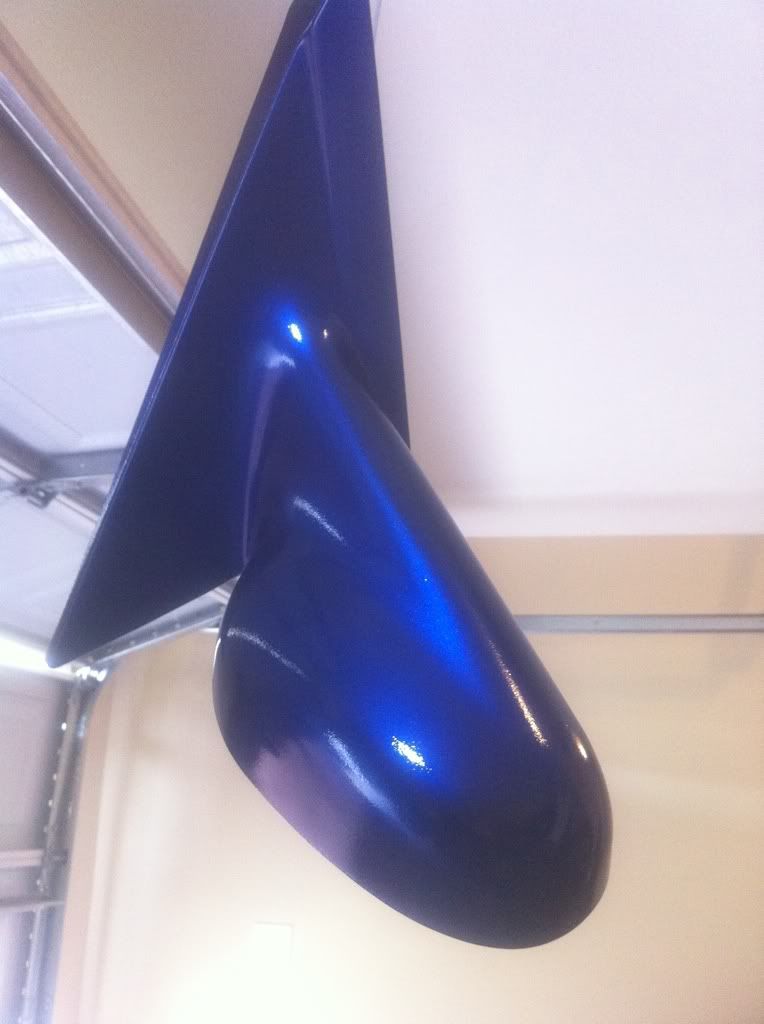
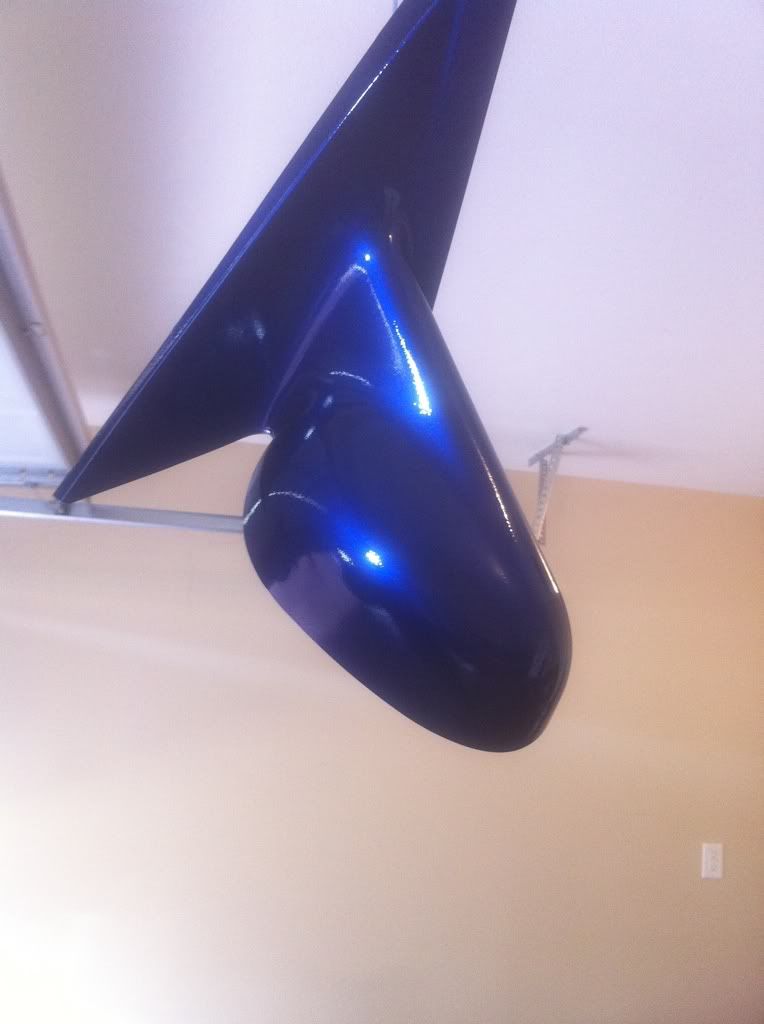
Coat #3 clear
![Image]()
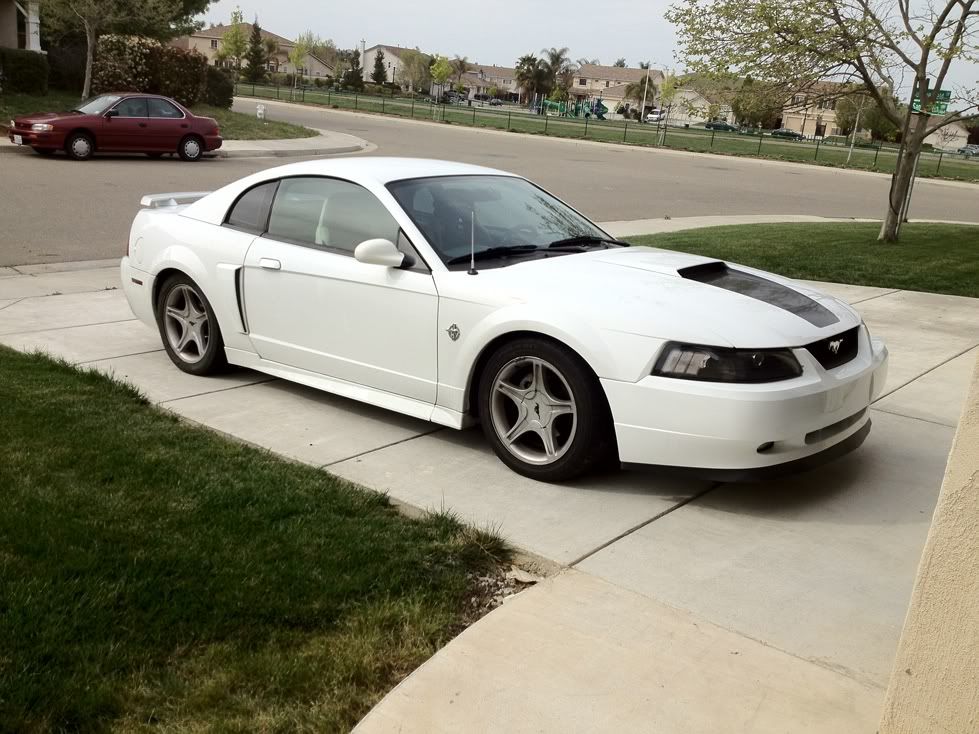
I think everybody gets the point. Each additional clear coat makes it shine more and will make it better to wet sand on. I'm doing little bursts with the cans and getting a good thick coat without runs. (short bursts and not too close is key here). I will take final product pictures when I am done and they are back on the car. For now enjoy!
Edit:
I tried wet sanding and apparently, I need to do some more research on how to do it properly. I put the passenger side on and I'm waiting for the driver's side to dry again after I messed it up trying to sand it.
![Image]()
![Image]()
![Image]()
List of supplies:
7/16 wrench
Small screw driver
Rubbing alcohol
Steel wool or other abrasive material
Automotive masking tape
Razor blade (not needed but good to have)
Dupli-color in your cars color. Auto Zone $6
Dupli-color clear coat. Auto zone $6
Paper towels
1000-2000 grit sand paper if your are going to wet sand. I'm going to try it.
Start by removing your mirrors. Pry the cover off with your hand or screw driver. (i don't have the Mach system so mine was just a cover.) 7/16 wrench to undo three nuts. Pull the door handle part of the door off just so you can get to the power mirror conection tab. Use the small screw driver to open the tab and the pull the mirror off completely.
Next, take the masking tape and completely cover the mirror portion and make sure you wrap the tape tightly around the edges so you can over spray the inside edges of the housing.
Now, take your steel wool and just ruff up the whole thing. It doesn't take much to start taking the plastic off. When you are done, wipe the whole surface down with a paper towel wet with the rubbing alcohol. I hung them up off of my garage door,with a coat hanger, with door half way down and a tarp hanging down from the door to prevent over spray on our cars in the drive way.

Now the fun begins. Shake the spray can as per directions and begin your first coat. Wait 10mins between coats.
Coat #1
Coat #3
Now I'm waiting 30 mins before I start the clear coat process. So far I am VERY impressed with not only the color match, but just how easy this really is to do, and I think it will look really good, as long my clear comes out nice.
Ok, now I have waited 50 mins give or take. I sprayed the clear the same way as the paint with 10 mins between coats. I will probably do 3-4 and then let them dry for a good hour before attempting to wet sand them. Only one coat of clear and they are really starting to look good now.
Coat #1 clear
Coat #2 clear
Coat #3 clear
I think everybody gets the point. Each additional clear coat makes it shine more and will make it better to wet sand on. I'm doing little bursts with the cans and getting a good thick coat without runs. (short bursts and not too close is key here). I will take final product pictures when I am done and they are back on the car. For now enjoy!
Edit:
I tried wet sanding and apparently, I need to do some more research on how to do it properly. I put the passenger side on and I'm waiting for the driver's side to dry again after I messed it up trying to sand it.